
Last updated October 8, 2026
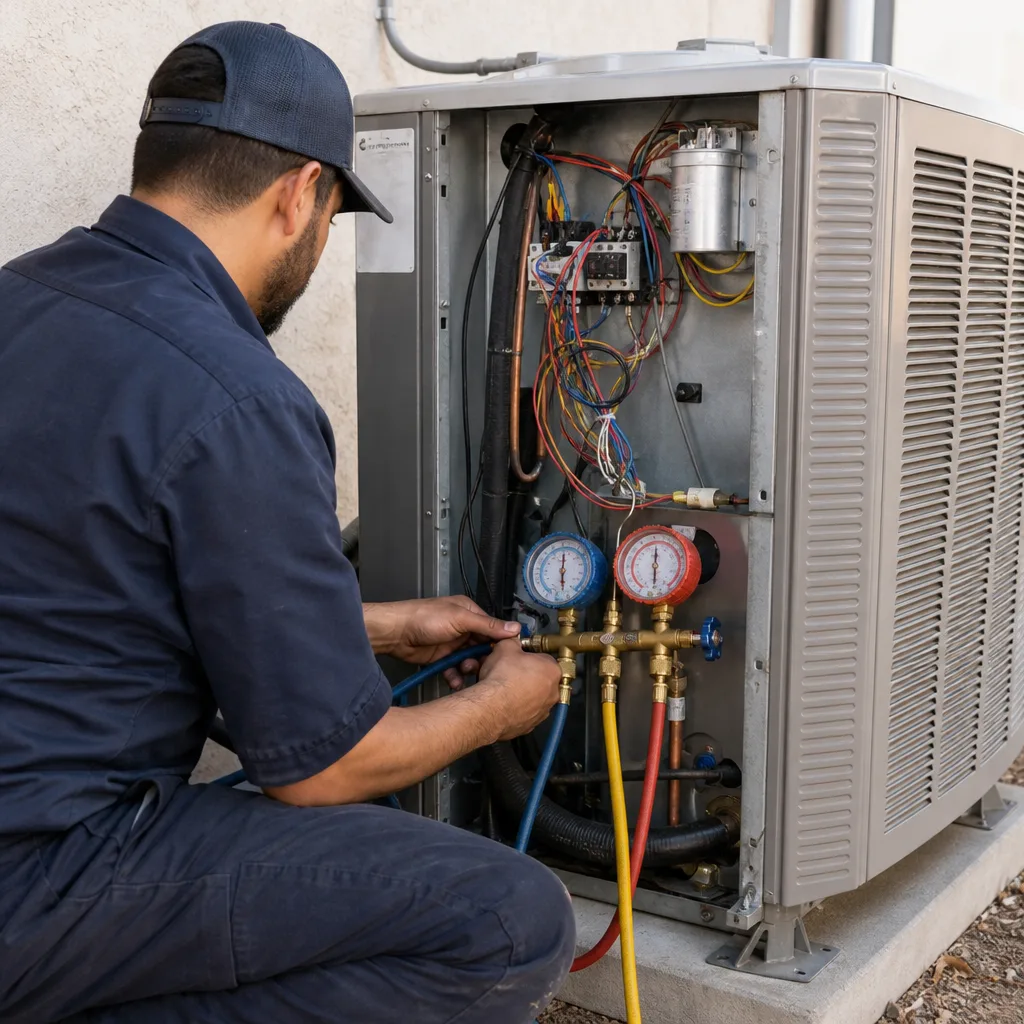
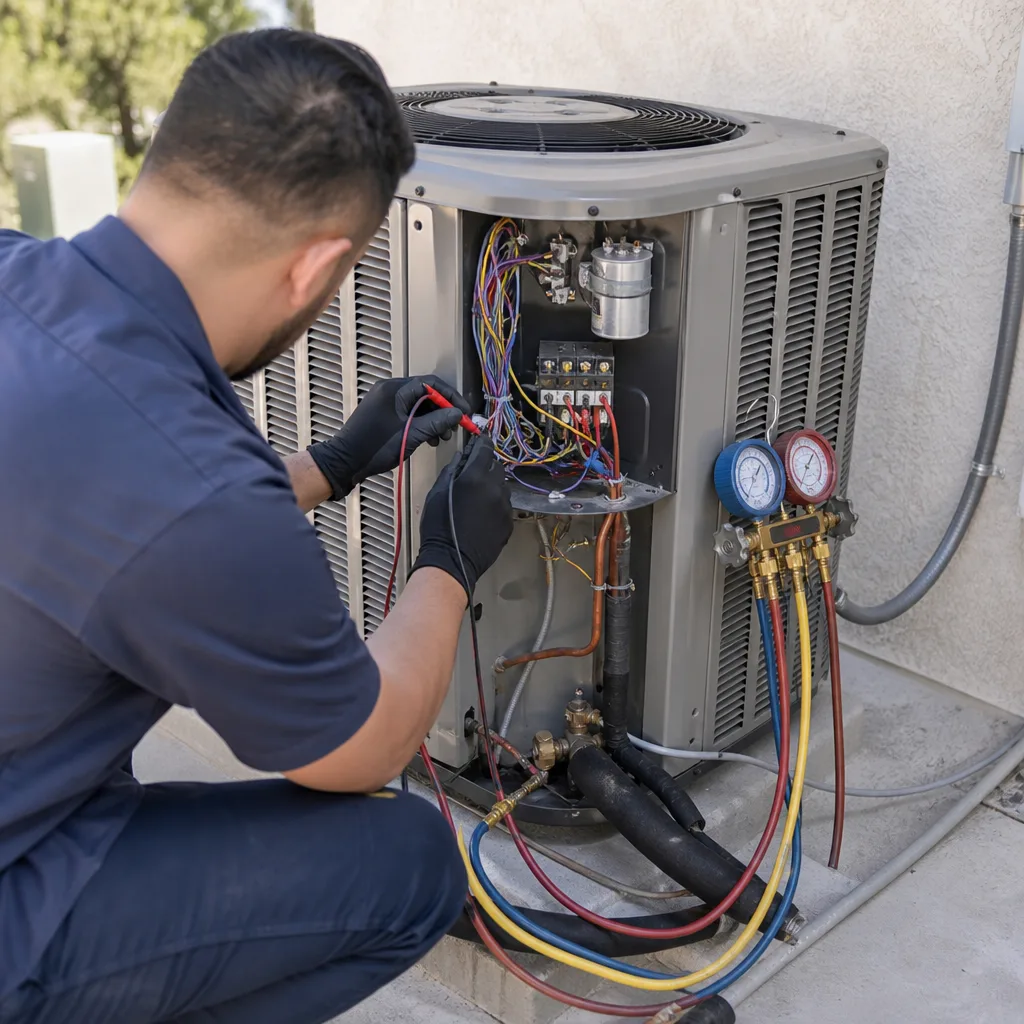
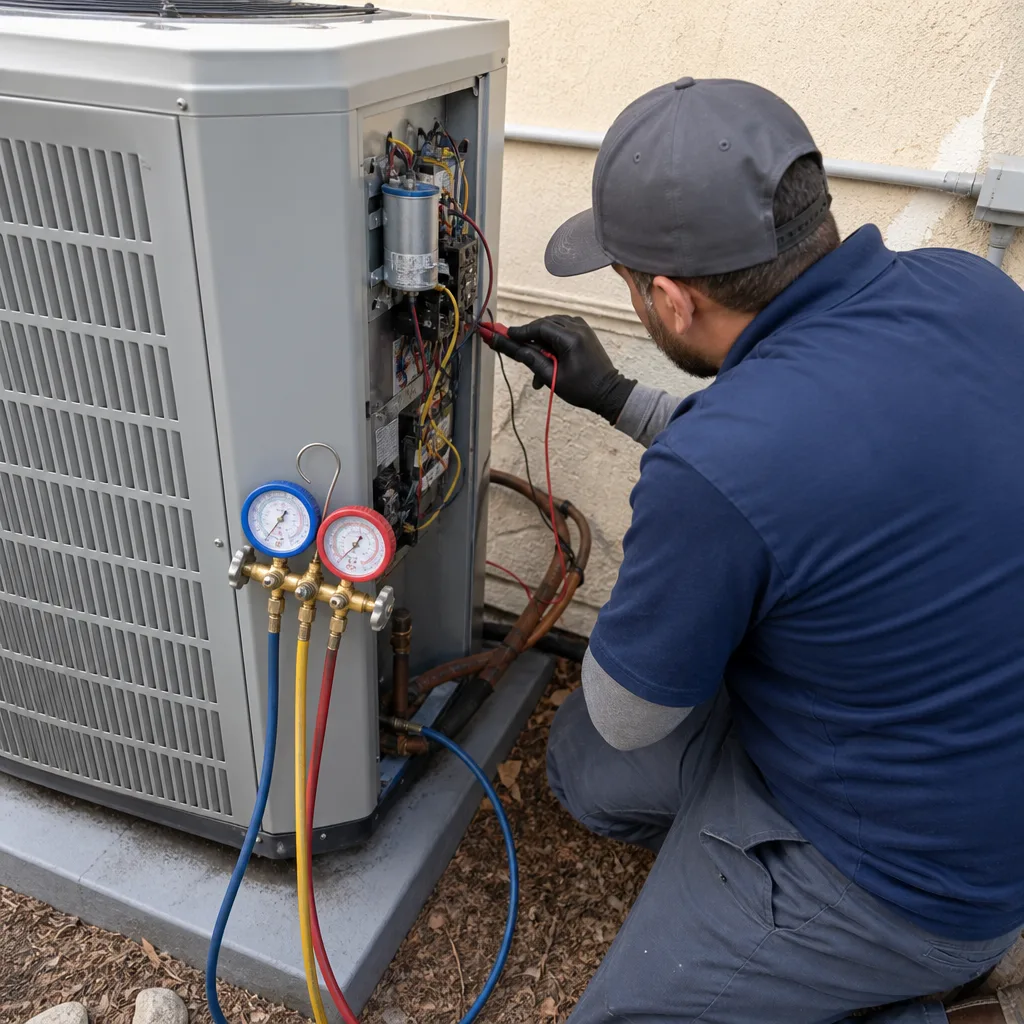
Seasonal tune-up and full diagnostic on your Carrier, Trane, or Goodman system - readings shown to you before any repair is proposed
Diagnosis first, numbers second - you approve the repair price before a single part goes in.
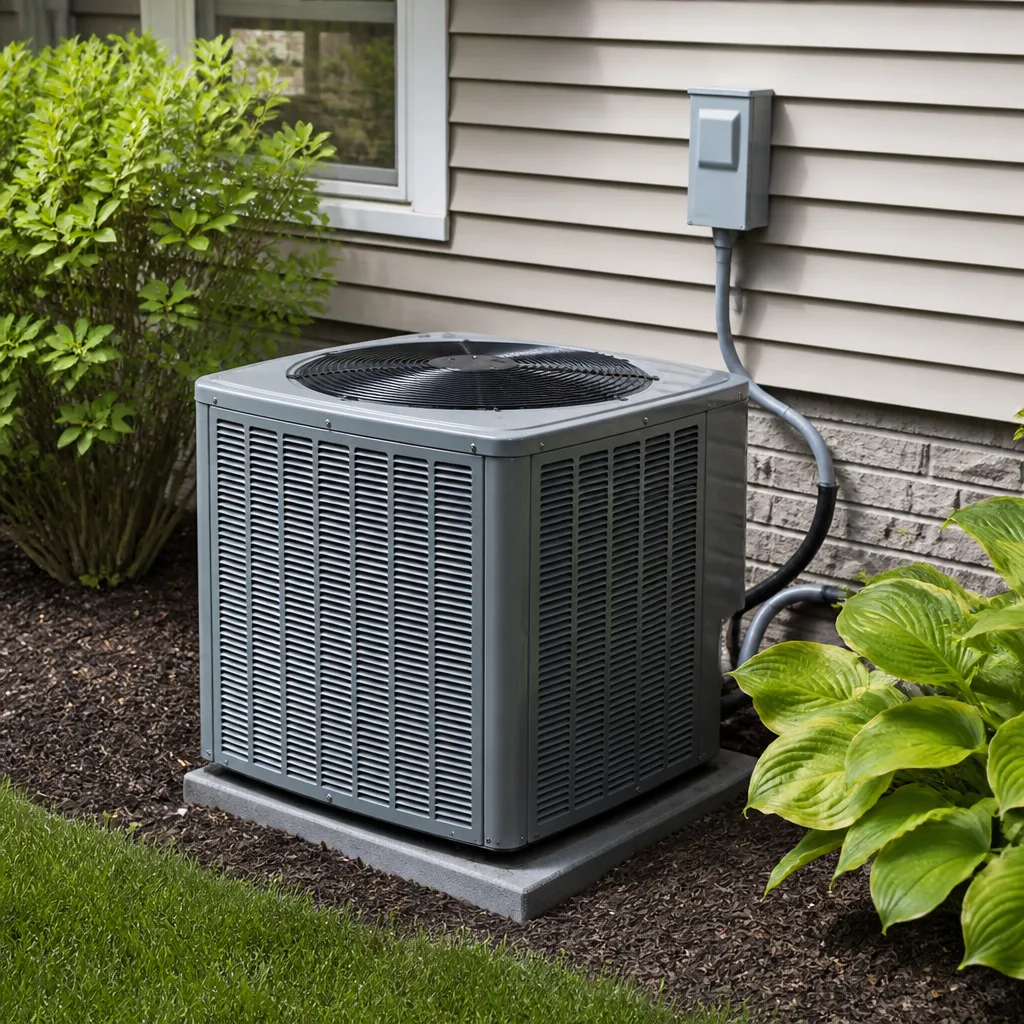
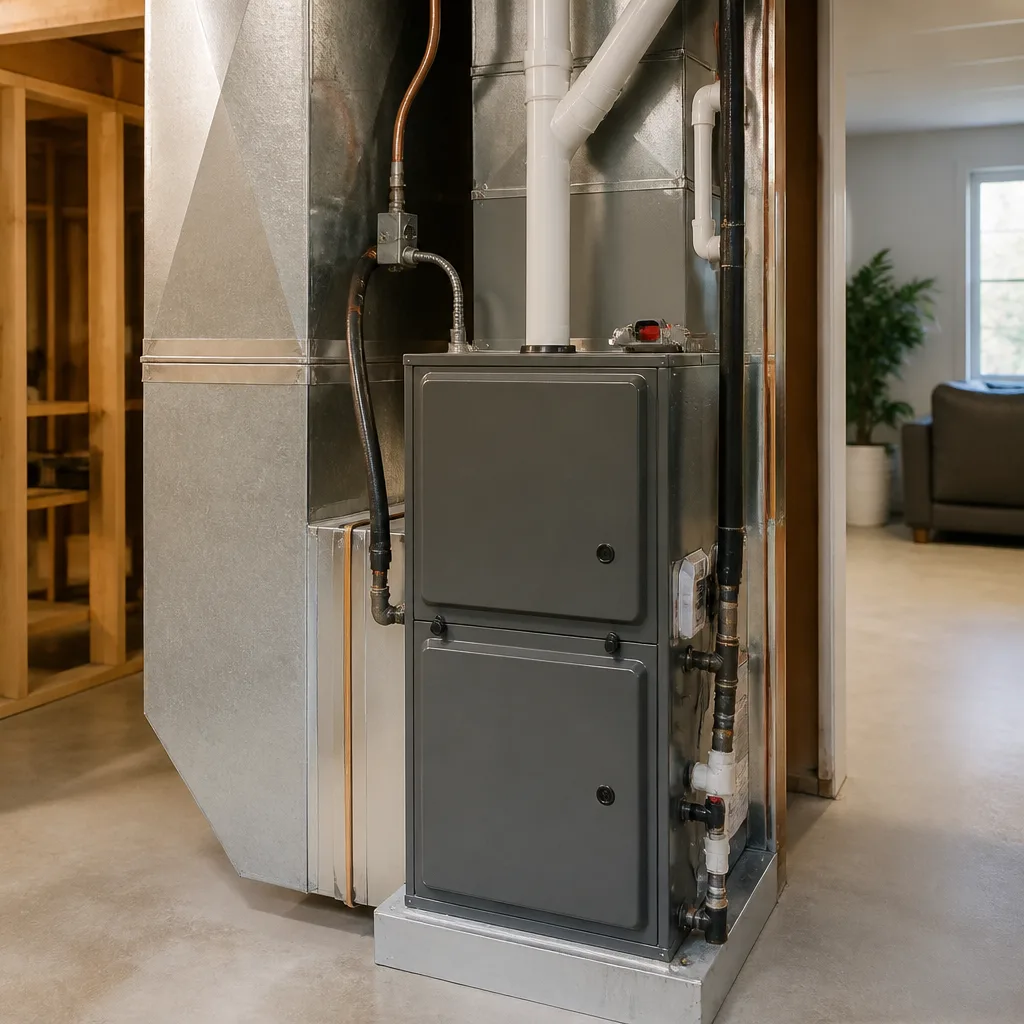
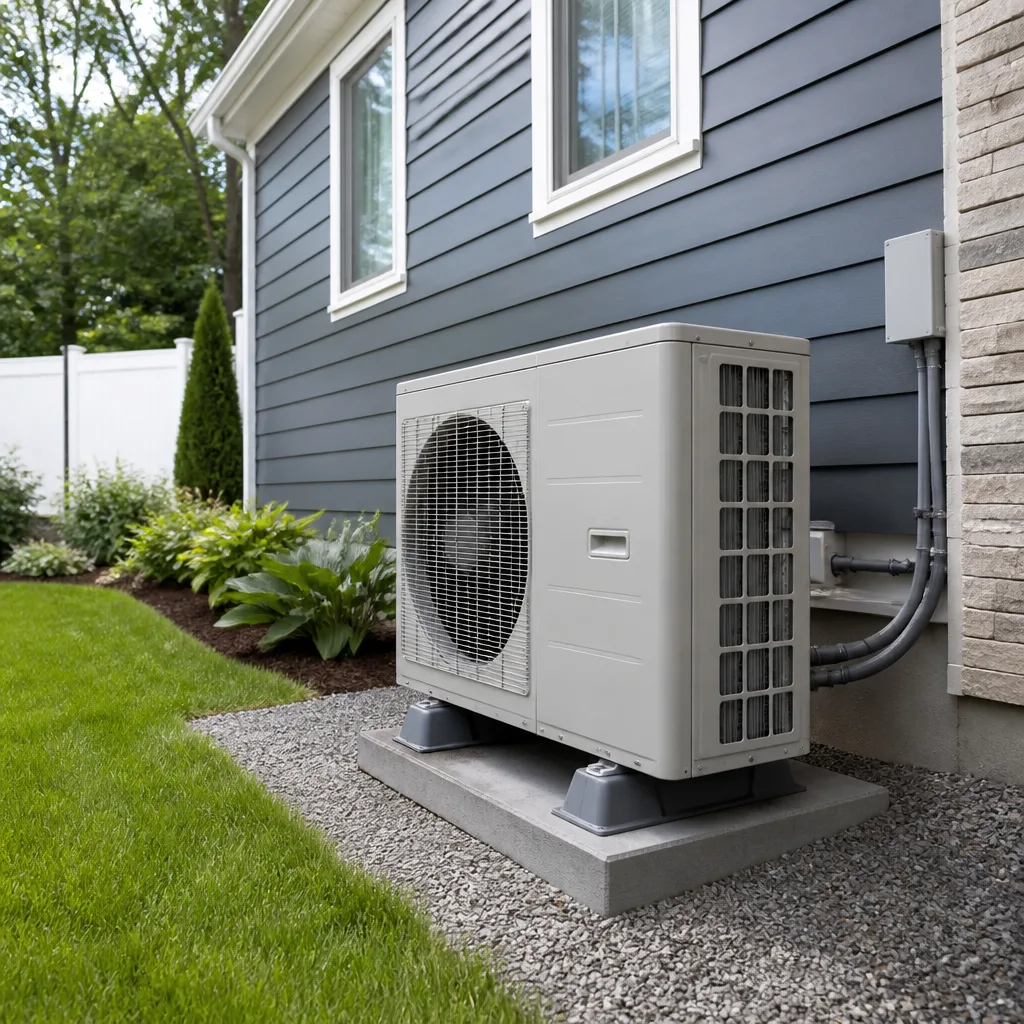
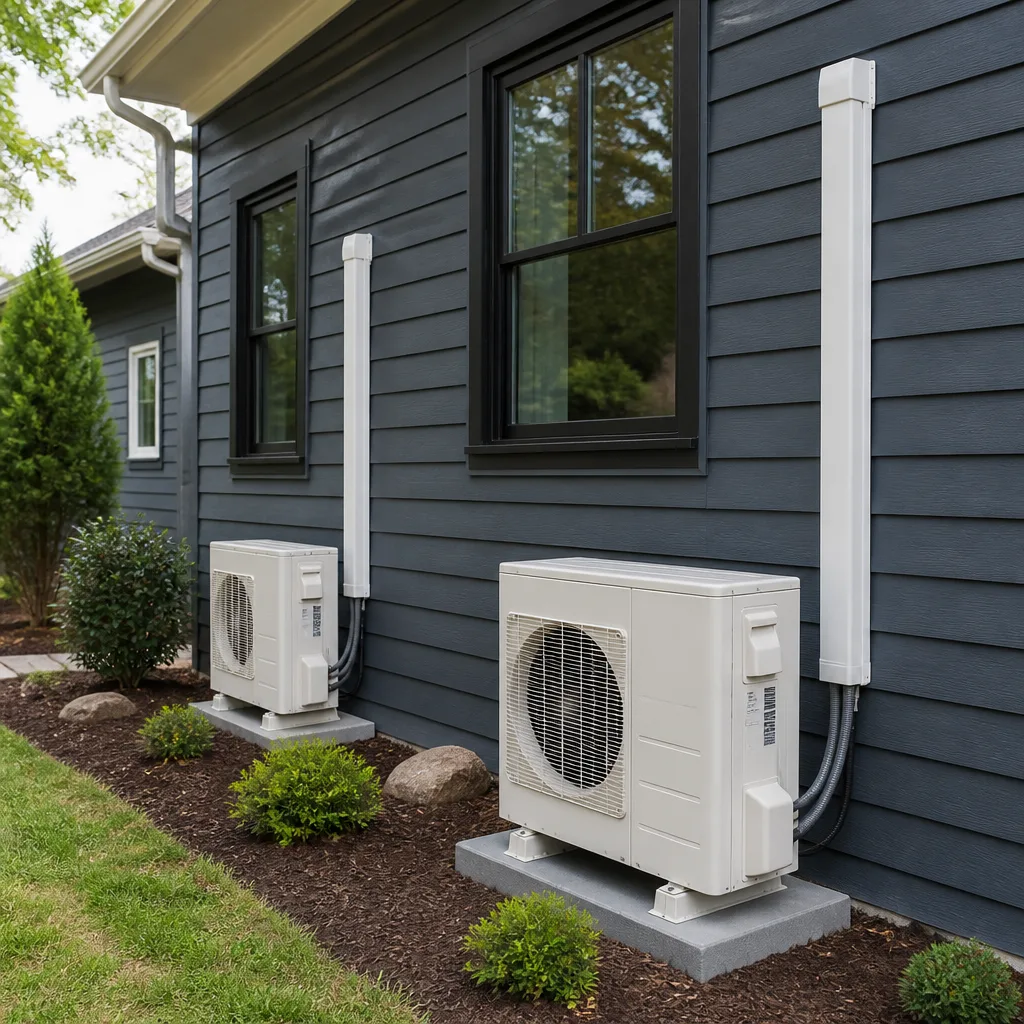
 Before
 After
After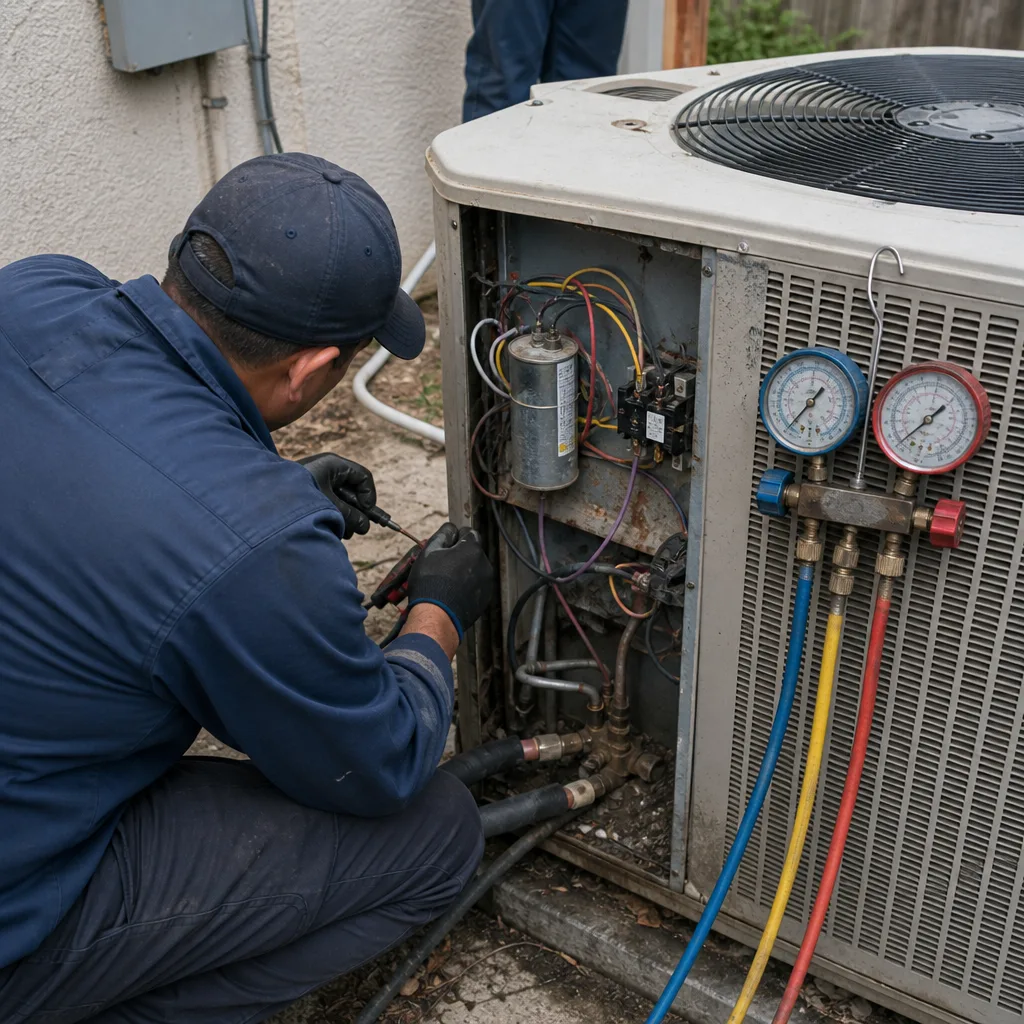 Before
 After
After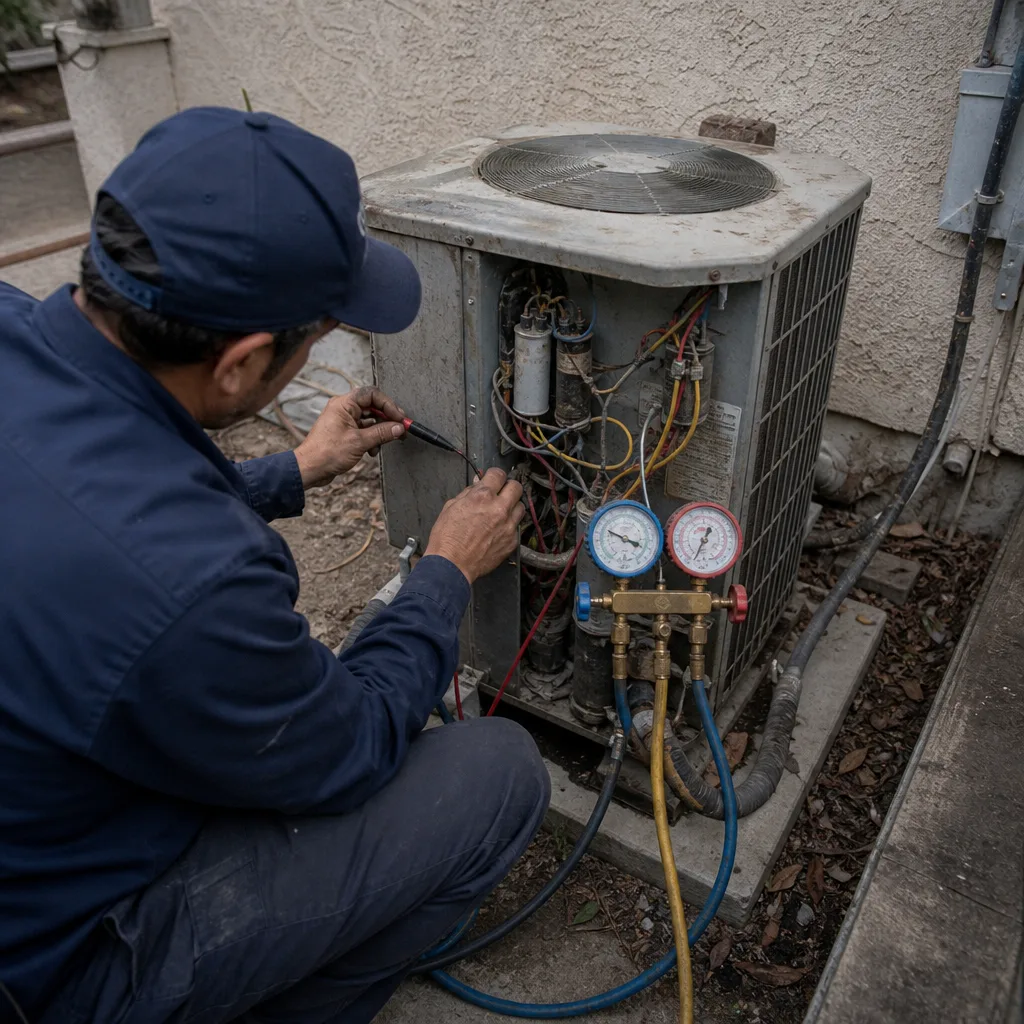 Before
 After
AfterAC Installation Warning Signs Every Homeowner Should Know
A new AC installation should be one of the most trouble-free purchases you make for your Los Angeles home. But here’s the uncomfortable truth: roughly half of AC failures in the first three years trace back to installation errors, not equipment defects. The unit might be a Carrier, a Trane, a Lennox, or a Goodman - all solid brands - but even the best equipment fails early when it’s installed wrong. This guide walks you through the warning signs that something was skipped, botched, or rushed during your installation, and when those signs typically appear. Some show up in week one. Some wait for the first rainstorm. Some hide until that first stretch of triple-digit heat. Knowing the difference is how you hold an installer accountable before their warranty conveniently runs out.
Quick Answer
Signs of a bad AC installation include ice forming on the refrigerant line within the first week, condensate water pooling near the indoor unit, a breaker that trips on the first hot day, and an electric bill that jumps far beyond what similar Los Angeles homes pay. If you’re seeing any of these, the problem is almost certainly in how the system was installed - not in how you’re using it - and the installer should correct it at their expense.
Table of Contents
- First-Week Warning Signs: What Shows Up Immediately
- The Electric Bill Red Flag: What LA Summers Should Cost
- Structural Warning Signs: What Rain and Humidity Reveal
- Noise as a Diagnostic Tool: What Your Ears Are Telling You
- Why Los Angeles Climate Makes Installation Quality Non-Negotiable
- What to Document and When: Protecting Your Leverage
- How the 365-Day Done Right Promise Approaches Installation Problems
- Common Mistakes to Avoid
- When to Call a Professional
- Frequently Asked Questions
- The Bottom Line
First-Week Warning Signs: What Shows Up Immediately
If your new AC was installed and working when the crew left, it’s easy to assume everything is fine. But the first week of operation is when installation mistakes surface fastest. Here’s what to watch for, and what each sign actually means about a specific step the installer may have skipped or rushed.
Ice Forming on the Refrigerant Line Set
Look at the larger of the two copper lines running between your outdoor condenser and indoor air handler. You’ll find it behind the insulation on the suction line. If you see frost or actual ice building up on that line within the first week, that’s not normal - and it’s not “just condensation.” Ice on the line set means one of two things: the system is undercharged with refrigerant (the installer didn’t weigh in the correct amount after pulling a vacuum), or airflow across the indoor coil is severely restricted (the installer undersized the return duct or left shipping cardboard in place). Both are installation failures. In Los Angeles, where summer temperatures can push a system hard from day one, an undercharged system will freeze up fast. Don’t “wait and see.” Ice is a call-back.
Condensate Water Pooling Near the Air Handler
Your air handler produces condensate - water pulled from the air during cooling. That water should drain away through a condensate line. If you see water pooling on the platform under the indoor unit, dripping from the cabinet, or staining the surface below, the drain line was either not pitched correctly, not glued properly, or not tested before the crew left. This is a first-week sign that the installer skipped the post-installation commissioning step where they run the system for 20-30 minutes and verify the drain path. Water pooling near an air handler in a Los Angeles closet or attic is not a minor cosmetic issue. It’s a water damage problem waiting for the first humid stretch of August.
The Breaker Trips on the First High-Load Day
Los Angeles sees its first true heat spike at different times each year - sometimes May, sometimes not until September. That first day when the temperature climbs past 95°F is when a new AC gets its first real test. If your breaker trips that day, the installer likely mismatched the circuit amperage to the unit’s actual draw, or under-torqued the electrical connections at the disconnect box or breaker panel. Loose connections create resistance, resistance creates heat, and heat trips breakers. A tripping breaker is not “the unit working harder than normal.” It’s an electrical safety issue that should be diagnosed by a trained professional, not ignored.
In our experience across Los Angeles neighborhoods from Echo Park to Westchester, these first-week signs share a common thread: the installer didn’t perform a complete AC Repair Maintenance Checklist for Los Angeles Homeowners before they left. A proper installation includes running the system under load, checking refrigerant pressures against the manufacturer’s specific chart for that exact unit, measuring airflow at the registers, and verifying the drain. When those steps are skipped, the signs appear within days.
The Electric Bill Red Flag: What LA Summers Should Cost
A properly sized, correctly commissioned central AC in a 1,500-square-foot Los Angeles home typically adds $80 to $150 to the monthly electric bill during the peak summer months, depending on thermostat settings, insulation, and the efficiency rating of the equipment. That’s a real range, not a guess - homes with average insulation, a standard SEER2 rating, and a thermostat set around 78°F land in that window. If your post-installation summer bill jumps by $250, $300, or more beyond your pre-installation usage for a comparable month, the system is not operating correctly.
Two installation errors cause runaway electric bills in Los Angeles:
- An overcharged or undercharged refrigerant line. When refrigerant charge is off by as little as 10%, the compressor works harder and draws more current to produce the same cooling. A system overcharged beyond that will run inefficiently every single day, and the damage compounds over the first summer. The installer’s job was to weigh the exact charge specified on the unit’s nameplate. If they “eyeballed it” or didn’t use a digital scale, your electric bill is the evidence.
- Duct leakage at the connection points. When new equipment connects to existing ducts, the installer must seal every joint where the plenum meets the supply and return runs. If those joints leak, cooled air escapes into the attic or crawlspace while hot outside air gets pulled into the return. The system still cools the house - eventually - but it runs 30-50% longer to do it. That runtime difference shows up on your bill within the first full billing cycle.
One useful check: compare your post-installation bill to a neighbor with similar square footage and a similar thermostat habit. If your bill is dramatically higher and your home is the same age with similar insulation, the system - not your usage - is the likely culprit. This is exactly the kind of problem an installer hopes you’ll blame on LADWP rate changes or “the heat.” Don’t. A new system, installed correctly, should lower your summer cooling cost, not triple it.
Structural Warning Signs: What Rain and Humidity Reveal
Los Angeles doesn’t get much rain, which means water-related installation failures take longer to show themselves here than in, say, Houston or Miami. But when the first real storm of winter arrives - and occasionally a humid coastal stretch in summer - installation mistakes become visible on ceilings, walls, and stucco. These are the slow-burn signs that separate a careful install from a rushed one.
Water Staining Near Supply Vents
When a supply duct carries 55°F air through a 90°F attic, the outside of the duct sweats - unless the installer insulated the duct run completely and sealed the vapor barrier at every seam. If the installer skipped insulation or left gaps, moisture forms on the duct exterior. Over time, that moisture soaks into the surrounding insulation, drywall, or plaster. The visible sign is a faint brown or yellow ring forming around a ceiling vent, sometimes widening over weeks. That stain is duct condensation, and it’s a direct result of either an improperly insulated duct run or a vapor barrier that was torn during installation and never resealed. In a Los Angeles attic where duct runs share space with can lights and old wiring, a careful installer takes the time to inspect existing runs and make sure new connections don’t compromise the insulation envelope.
Ceiling Discoloration Near the Air Handler
Unlike condensation near the unit, which shows up fast, a slow condensate leak inside the air handler cabinet can take months to reveal itself. The water drips gradually, soaks into the platform or joist, and eventually migrates through the ceiling below. The sign is a discolored patch - often irregular, sometimes with a faint musty odor - near the location of the indoor unit. In a Los Angeles home with the air handler in the attic, that patch appears on the ceiling below the unit. The root cause is almost always a drain line that wasn’t properly pitched, a float switch that wasn’t wired, or a secondary drain pan that was never connected. All three are installation checklist items. All three are installer responsibility.
Rust Streaks on Stucco Below the Outdoor Unit
The outdoor condenser drains condensate too, especially during humid summer days near the coast. That water should be routed away from the unit and away from the house. When the installer doesn’t route the condensate line properly, the water drips or runs down the stucco wall. Over time, the minerals in the water and the metal of the unit leave rust-colored streaks. If you spot rust streaks on the stucco below or beside your condenser in the first year, the condensate routing was an afterthought. It’s not what a professional installation looks like, and it’s a tell-tale sign the installer treated the outdoor unit as a “set it and forget it” step rather than a finished component of your home’s exterior.
Noise as a Diagnostic Tool: What Your Ears Are Telling You
You’ll hear an AC system when it runs. But certain sounds are not normal, and being able to identify them gives you a diagnostic language for talking to an installer about what went wrong. Here are the ones we teach Los Angeles homeowners to listen for.
A Refrigerant Hiss During the Off Cycle
When the compressor cycles off, the system should fall quiet within a minute or two. If you hear a hissing sound near the outdoor unit while it’s off, that’s refrigerant migrating through a valve that isn’t seating properly. The expansion valve - or in some systems, a check valve - is supposed to close when the system cycles down. An installer working in a hurry can leave the valve misadjusted, or fail to properly braze a connection, allowing a slow refrigerant leak to develop. A hiss during the off cycle is not a “system settling in.” It’s refrigerant leaking or a valve malfunction, and it deserves a call-back.
A Persistent Vibration from the Condenser
An outdoor condenser sitting directly on a concrete patio or a rooftop platform in Los Angeles transmits vibration into its mounting surface if the installer didn’t set isolation pads or level the unit. You’ll hear it as a hum or buzz that you can feel through the floor near the unit, or through the wall if the unit sits near the house. Proper installation includes rubber isolation pads and, where required by code or local practice, a vibration-absorbing stand. A condenser that vibrates constantly is not performing at its specified noise level, and on rooftop installations common in some LA neighborhoods, that vibration travels through the roof structure into the living space below.
A ‘Whoosh’ from the Vents
A certain amount of airflow noise from the registers is normal, especially at the start of a cooling cycle. But a pronounced ‘whoosh’ - air rushing through the grille - means the system’s static pressure is too high. That happens when the return duct is undersized for the new equipment, when the filter is too restrictive for the system’s airflow requirements, or when the installer didn’t address the duct design at all. High static pressure reduces efficiency, shortens equipment life, and turns a quiet new system into one you hear in every room. An installer who cares about the finished experience will measure static pressure during commissioning and adjust the setup if the numbers are off. If you’re hearing a ‘whoosh’ from the vents in every room, your installer likely skipped that measurement.
Why Los Angeles Climate Makes Installation Quality Non-Negotiable
Los Angeles has a climate that punishes sloppy HVAC work in specific ways. The summers are long and increasingly hot, with inland neighborhoods like Van Nuys, Woodland Hills, and Pasadena routinely seeing 95°F-plus days from June through September. The coastal zones - Santa Monica, Venice, parts of Long Beach - bring salt air that accelerates corrosion on any unsealed metal. And the winters, while mild by national standards, bring the occasional extended rain system that tests every exterior seal, condensate route, and roof penetration.
An AC system installed correctly in Los Angeles has to handle all three conditions: sustained high demand during heat waves, salt exposure near the coast that attacks coil fins and electrical connections, and long dry spells punctuated by sudden downpours. That’s a demanding combination. It’s why a rushed installation that might survive in a mild, stable climate will fail visibly here within the first year. The same unit - a Trane XV18 or a Lennox Elite Series, for example - behaves completely differently depending on whether the installer sealed the electrical connections against humidity, routed the condensate away from the stucco, and sized the lineset to the specific length of the run. Los Angeles specific duct runs, which often snake through tight attics and over finished ceilings in older Spanish-style homes, make the difference between a good install and a bad one even wider.
This matters because the cost of a re-do - re-commissioning a system, re-sealing ducts, re-routing a condensate line - is not small. In the Los Angeles market, you’re looking at anywhere from $300 to $800 for a full re-commissioning visit, and $1,500 to $3,000 or more for duct sealing or replacement work depending on the accessibility of your attic or crawlspace. When the installer bears the responsibility for these costs, the financial difference is enormous.
What to Document and When: Protecting Your Leverage
When installation problems show up, the timeline of your documentation matters as much as the problem itself. Here’s a step-by-step approach that protects your position from day one:
- Photograph the installation while it’s in progress. The line set routing, the condensate line, the electrical connections, the duct connections at the plenum, the outdoor unit placement. Take these photos while the crew is still working or right after they’re done, while everything is visible. Once drywall or insulation goes back, you lose access to the evidence.
- Record the first electric bill comparison. Pull your bill from the same month last year, and compare it to your first full month with the new system. If the jump is more than $150 beyond what the weather alone would explain, note it and set it aside. This becomes your evidence if the problem persists.
- Log every noise, every water stain, every breaker trip with the date. A simple note in your phone works. “August 12 - breaker tripped, overnight temp 88°F.” “January 7 - water stain appeared near hallway vent, four inches wide.” These dated observations matter when you’re talking to an installer several months after the job.
- Check the condenser after the first major rain. Look for pooling around the base, rust streaks on the wall, water backing up at the condensate drain. Snap a photo even if it looks minor.
- Keep the installation invoice and commissioning report. If the installer gave you a commissioning report with pressures, airflow measurements, and static pressure readings, keep it in a place where you won’t lose it. If they didn’t give you one, ask for it in writing. A commissioning report is your baseline - without it, an installer’s word that “it was fine when we left” is harder to challenge.
The full picture matters. A single noise might be nothing. A noise plus a high electric bill plus ice on the line set paints a very specific picture: the system wasn’t commissioned properly, and the installer skipped multiple steps. Our team at Meadowsweet Heating & Air home has walked into Los Angeles homes where homeowners documented everything perfectly, and that documentation is what made the original installer take responsibility for the fix.
How the 365-Day Done Right Promise Approaches Installation Problems
Here’s the hard truth about most installation problems: they appear after the installer’s standard 90-day labor warranty expires. The first real heat wave might hit in month five. The first rainstorm might come in month eight. By then, the installer can claim the problem is “normal wear” or “not covered” - and you’re left paying for a repair on a system that should have been right from day one.
Meadowsweet Heating & Air was built around a different assumption: the installer should be accountable for a full year, not three months. Our 365-Day Done Right Promise means that if something about the installation wasn’t done right - the charge is off, the drain leaks, the duct connection fails - we make it right. No runarounds, no fine print, no “that’s not covered.” The promise exists because installation problems, by their nature, hide in plain sight for months before they surface.
What “made right” means in writing: we return to the home, diagnose the root cause without charge, and complete the corrective work at no cost to you if the failure traces back to our installation. That includes re-commissioning the system, re-sealing ducts, re-routing condensate, or correcting electrical work. The promise is written into every installation agreement, not implied.
We pair this promise with the Cedarwell Care Promise, which governs how our crew treats your home while they’re working. Shoe covers and drop cloths on every visit. A written price before any work starts. A photo of the clean-up sent to you before we leave. When you’re dealing with the stress of a failing new system, the last thing you need is to worry about the crew tracking dirt through the house or leaving the job looking worse than they found it. Our team - led by Luis Serrano and operating as an independent location within the Cedarwell family of HVAC companies, founded in 2004 - services equipment from nine major brands, including the Carrier, Trane, Lennox, and Goodman units most common in Los Angeles homes. If you’re dealing with the warning signs described in this guide, and your original installer is difficult to reach or unwilling to take responsibility, we’re the second opinion that often turns into the long-term fix.
Common Mistakes to Avoid
- Assuming a new system “just runs that way.” It doesn’t. A new AC should be quieter, cheaper to run, and more comfortable than whatever it replaced. If it isn’t, something was done wrong, not “that’s how new units are.” In Los Angeles, we hear this line from homeowners who were told by their installer that “all new systems make that noise.” They don’t.
- Waiting until the first repair to call the installer. By the time a failed capacitor or a seized compressor shows up, the root cause has been present for months - low charge, high static pressure, water damage. Addressing warning signs early prevents the bigger failure. Don’t let a $400 re-commissioning problem become a $2,500 compressor replacement.
- Not asking for a commissioning report. Some installers will tell you it’s “not standard.” It should be. A written record of refrigerant pressures, airflow measurements, and static pressure readings is your baseline, and it’s what separates a professional job from an improvised one. In the Los Angeles market, with so many homes and so many installers, asking for this document separates the careful operations from the volume shops.
- Ignoring a higher electric bill because “rates went up.” Rates do go up in Los Angeles. But a properly installed new system should still consume less energy than the older unit it replaced. If your bill is dramatically higher after installation, rates aren’t the whole story.
- Not documenting the problem before calling. Photos, dates, specific sounds, the outside temperature that day, the date of the last rain. The more specific your record, the harder it is for an installer to dismiss the problem as “user error” or “normal operation.”
- Accepting a quick fix without understanding the root cause. A technician who adds refrigerant without finding the leak, or who re-sets the breaker without checking the electrical connections, is treating a symptom. That gets you through the current heat wave, but it doesn’t fix the installation error. Insist on a root-cause diagnosis in writing.
- Choosing a new installer without reviewing how they’ll protect your home. An installation is a construction project, not a product delivery. Ask how the crew protects floors, how they handle kids and pets during the work, and what their clean-up standard is. At Meadowsweet, we name these things in the Cedarwell Care Promise because they’re part of the job, not an add-on.
When to Call a Professional
Some warning signs are worth watching and documenting. Others deserve a phone call right away. Call a licensed HVAC professional if you see ice building on the refrigerant line, water pooling near the air handler, a breaker tripping repeatedly on hot days, or a refrigerant hiss you can hear from several feet away. Call if your electric bill post-installation jumps by $200 or more for a comparable weather month. And call if water staining appears near vents or ceilings after the first rain. These are not DIY problems - refrigerant work requires EPA certification and electrical diagnostics around a condenser carry real safety risk. If you’re in Los Angeles and need a second opinion on a recent installation, Meadowsweet Heating & Air offers free estimates - call (747) 966-3037 and a live person will answer, day or night.
Frequently Asked Questions
Look for ice on the refrigerant lines within the first week, condensate water pooling near the indoor unit, a breaker that trips on hot days, a significantly higher electric bill than expected, or odd noises like a hiss during the off cycle or a persistent vibration. Any one of these is worth investigating; two or more strongly suggest an installation error rather than an equipment defect.
A new AC should run quieter than the unit it replaced - not noiseless, but clearly quieter. A refrigerant hiss when the system is off means a valve isn’t seating properly. A constant vibration from the condenser means the unit isn’t leveled or isolated. A whoosh from the vents means duct static pressure is too high. These are all installation-related sounds, not normal operation.
In a typical Los Angeles home, a correctly installed central AC should add roughly $80 to $150 to the monthly summer bill. If your bill jumped far beyond that, the most likely causes are an improperly charged refrigerant line or duct leakage at the connection points. Both are installer responsibility, and both get worse over time without correction.
Document everything - dated photos, electric bill comparisons, written notes of symptoms and when they appeared. Then get a second opinion from a licensed HVAC contractor who can diagnose the root cause in writing. If the second opinion confirms an installation error, use that written diagnosis to press the original installer for a correction. Some homeowners end up having the second contractor complete the fix and pursue the original installer through a contractor’s bond or small claims court.
Some problems can wait; some can’t. A noisy condenser or a slightly higher electric bill can wait a few weeks while you gather evidence. Ice on the refrigerant line, a repeated breaker trip, or water staining near the air handler should not wait - these are active safety or property-damage risks. In Los Angeles, where cooling demand continues into October, a problem left through summer can turn a $400 fix into a $2,500 compressor failure.
If an installation issue appears within the first year and traces back to our work - the refrigerant charge is off, the drain leaks, the duct connection fails - we diagnose the problem and complete the corrective work at no cost to you. The promise is written into every installation agreement, and it covers the specific categories of failure described in this guide: refrigeration, condensate routing, duct sealing, and electrical connections.
If you’re dealing with any of these warning signs and want a clear diagnosis from a team that answers the phone, call Meadowsweet Heating & Air at (747) 966-3037. Estimates are free, and a live person picks up 24 hours a day. We also recommend reviewing our AC Repair in Los Angeles page for details on how we diagnose and correct installation-related failures, or our Furnace Repair in Los Angeles page if a heating inspection is part of your seasonal maintenance planning.
The Bottom Line
The warning signs in this guide share a common origin: steps that were skipped during installation. Explore our more guides & resources for additional homeowner support. Ice on the lines means the charge was never verified. Pooling water means the drain was never tested. A tripping breaker means the electrical work was rushed. A high bill means the ducts were never sealed. In Los Angeles, where summers demand real performance and the first rainstorm exposes every shortcut, these failures are predictable - and they’re all avoidable. When you choose an installer, choose one whose accountability outlasts the first ninety days, whose crew treats your home like a home, and whose promise is written down. That’s what the Cedarwell Care Promise and the 365-Day Done Right Promise were built for. If you’re seeing any of the signs in this guide, document them, call a professional, and don’t let an installer’s hurry become your long-term problem.
Written by Luis Serrano, Owner at Meadowsweet Heating & Air, serving Los Angeles since 2004.