
Last updated October 8, 2026
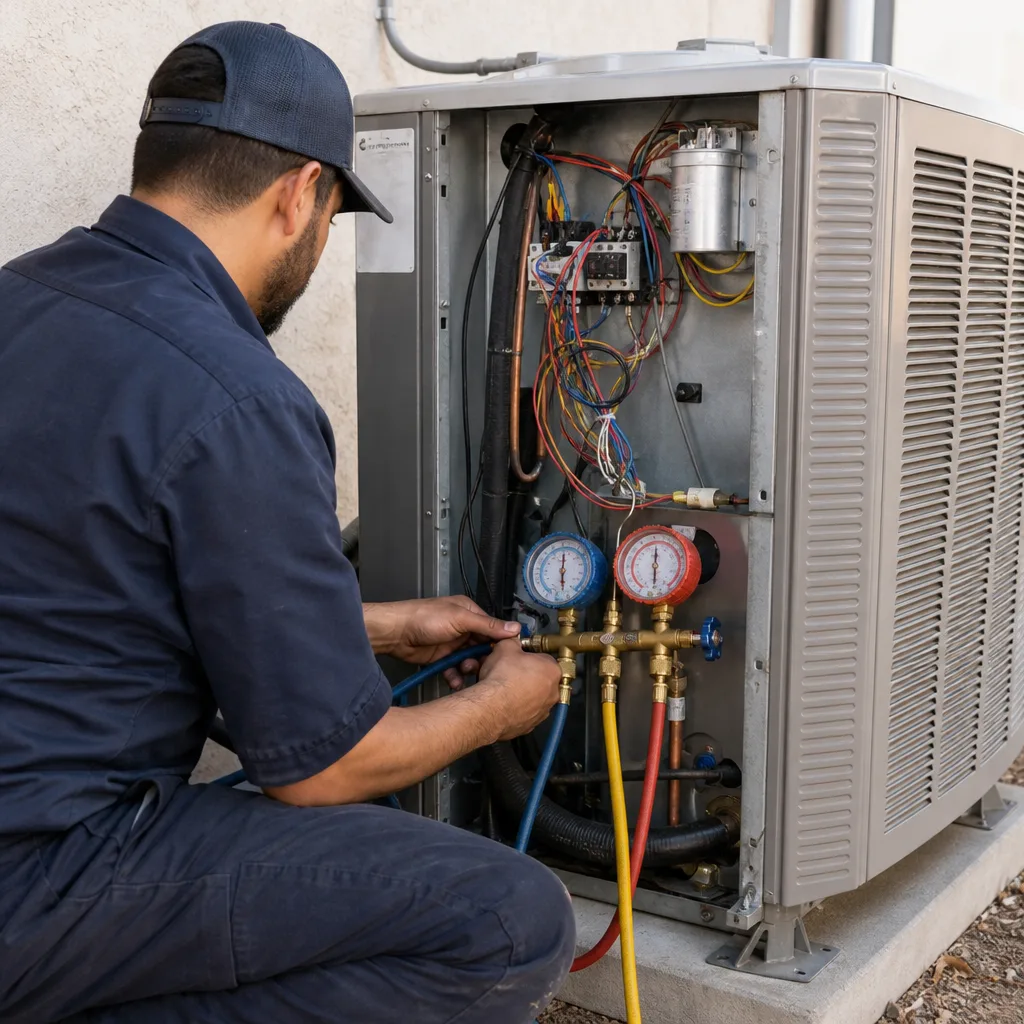
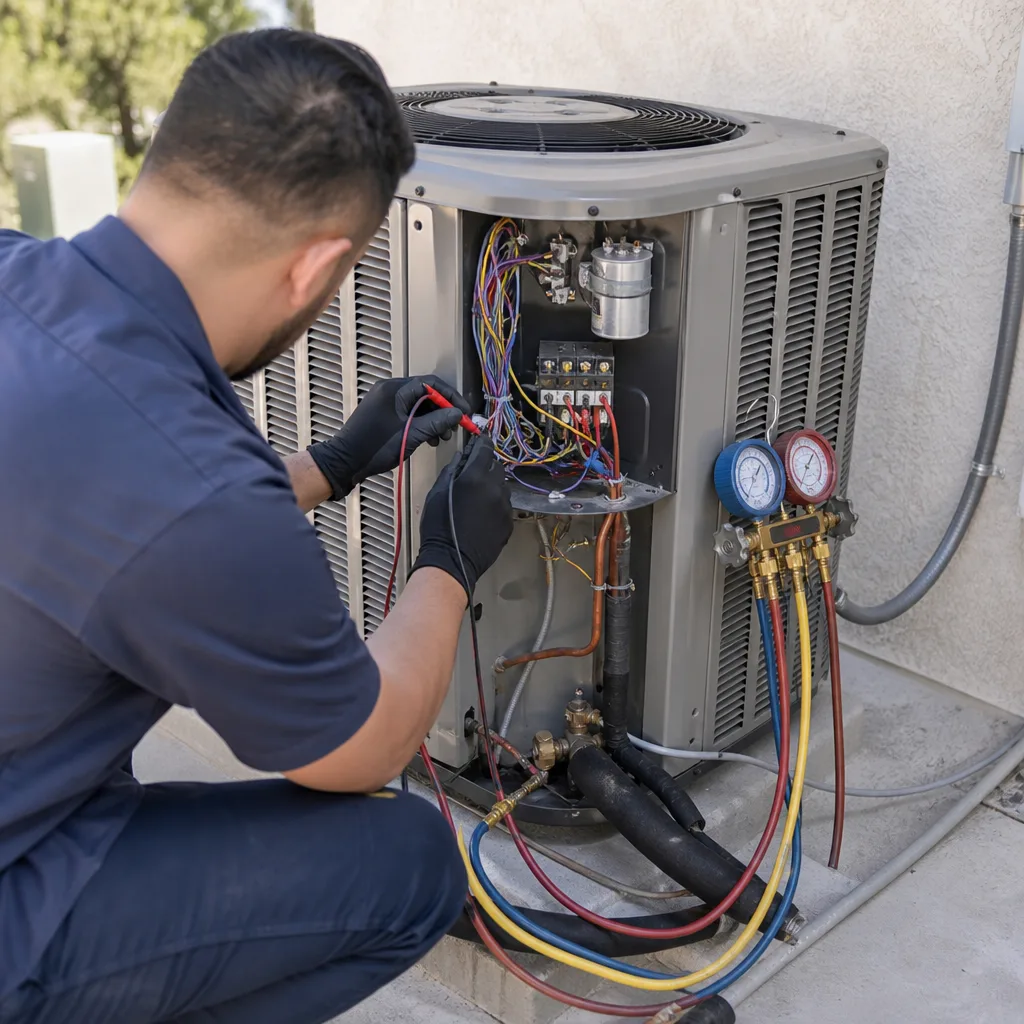
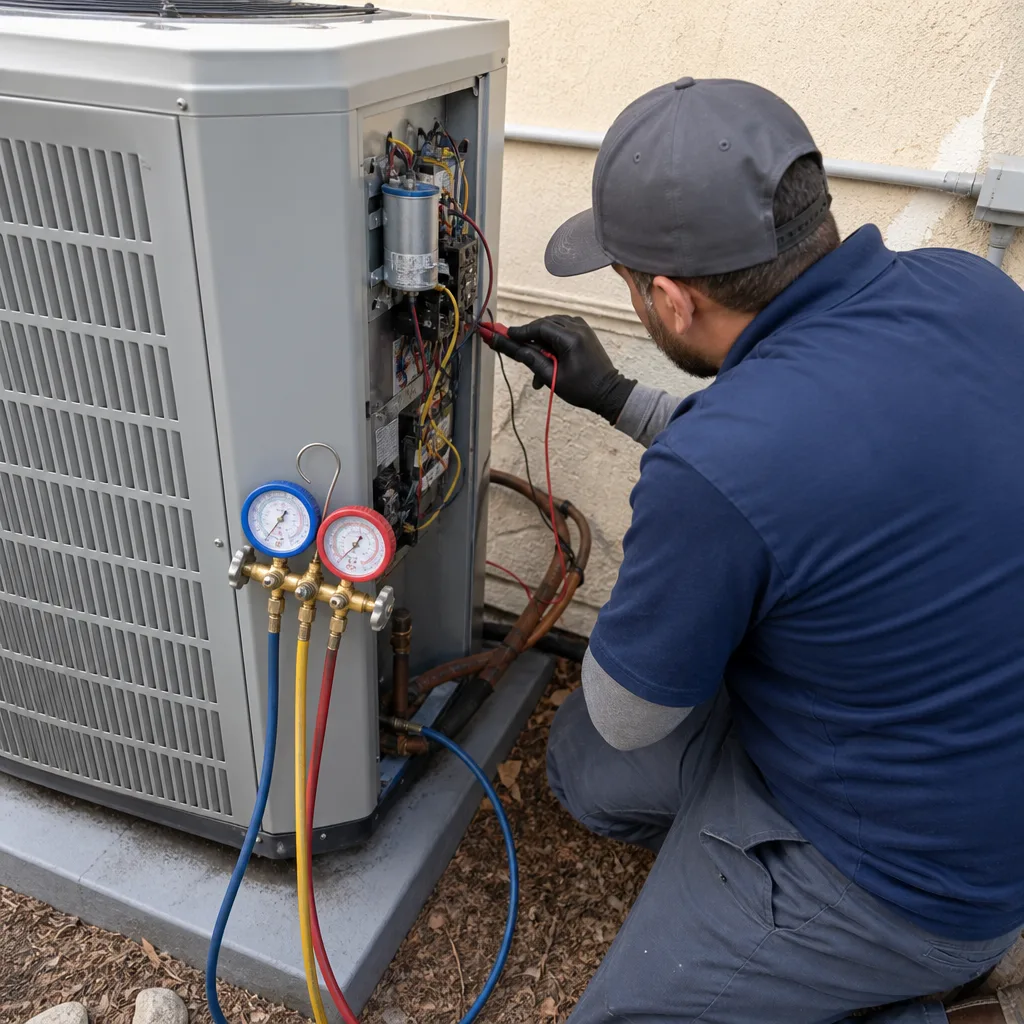
Seasonal tune-up and full diagnostic on your Carrier, Trane, or Goodman system - readings shown to you before any repair is proposed
Diagnosis first, numbers second - you approve the repair price before a single part goes in.
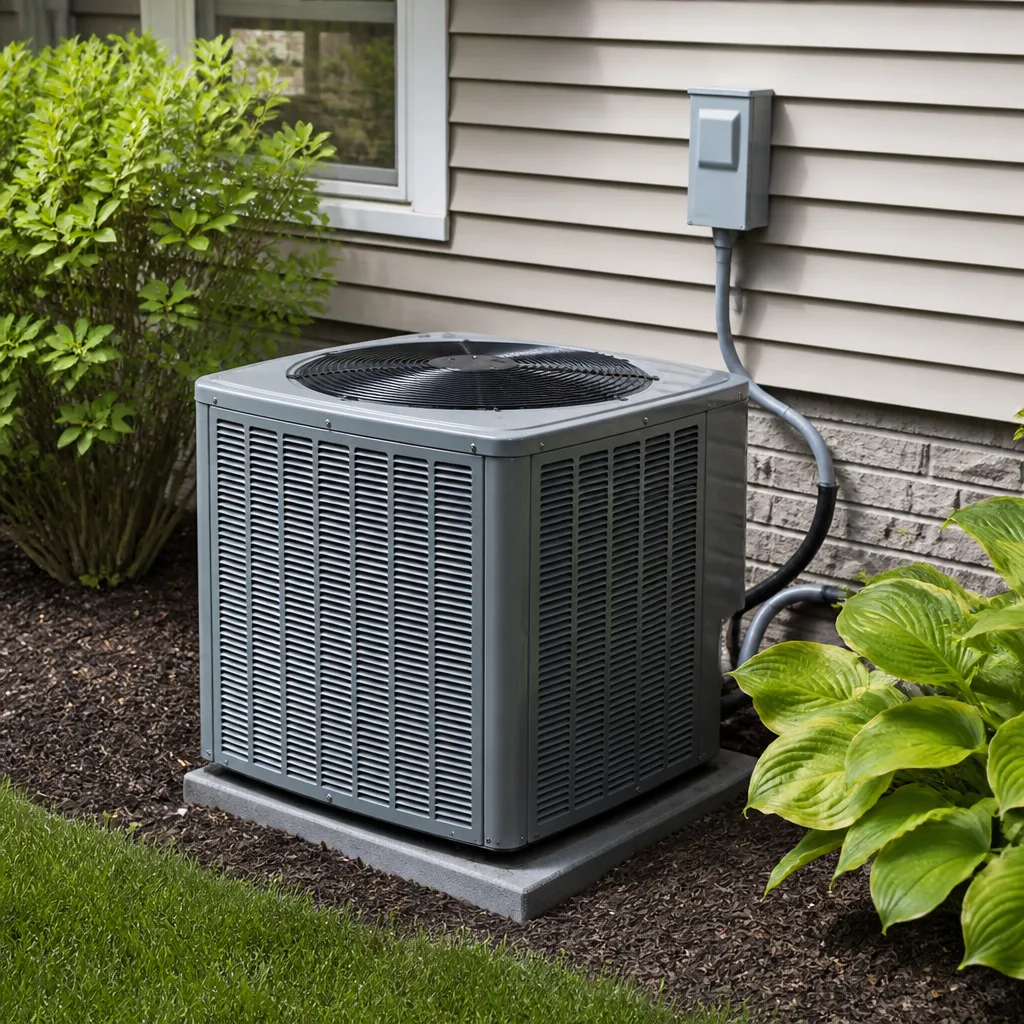
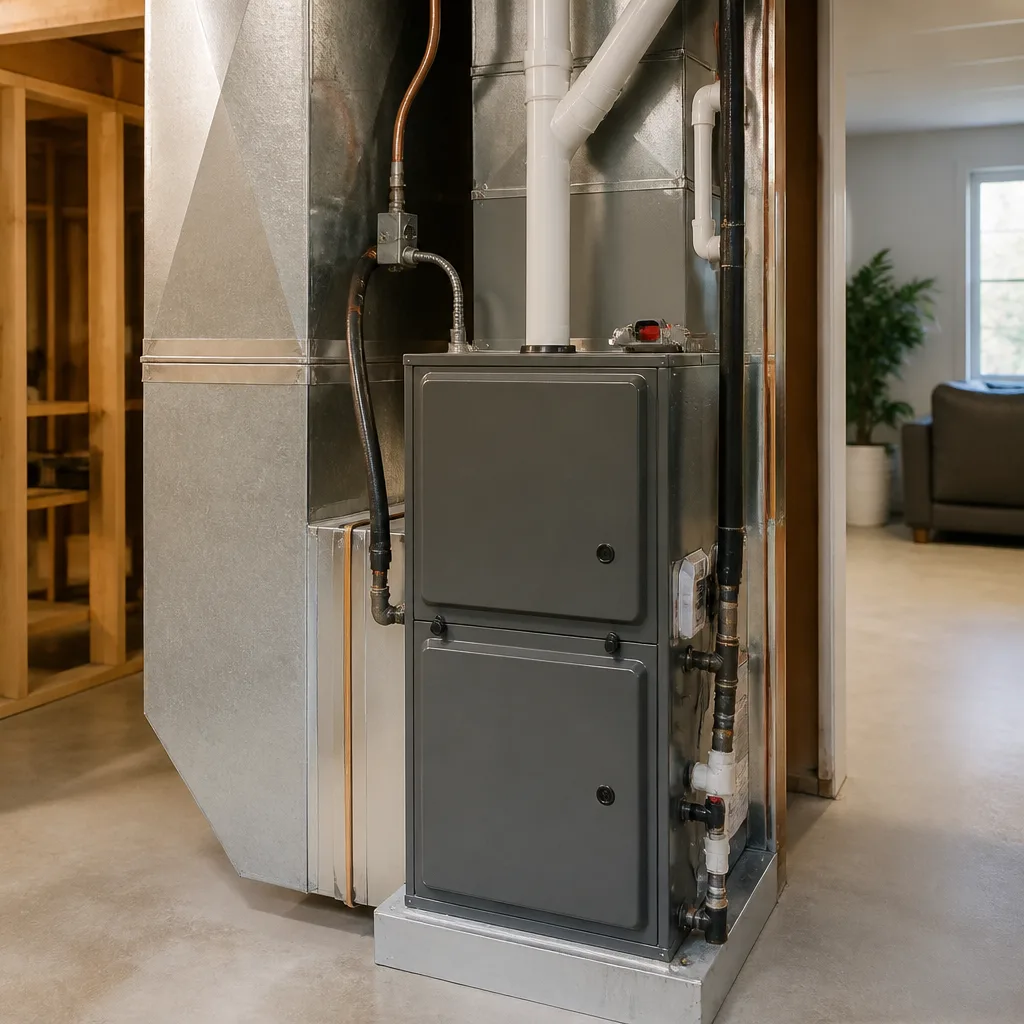
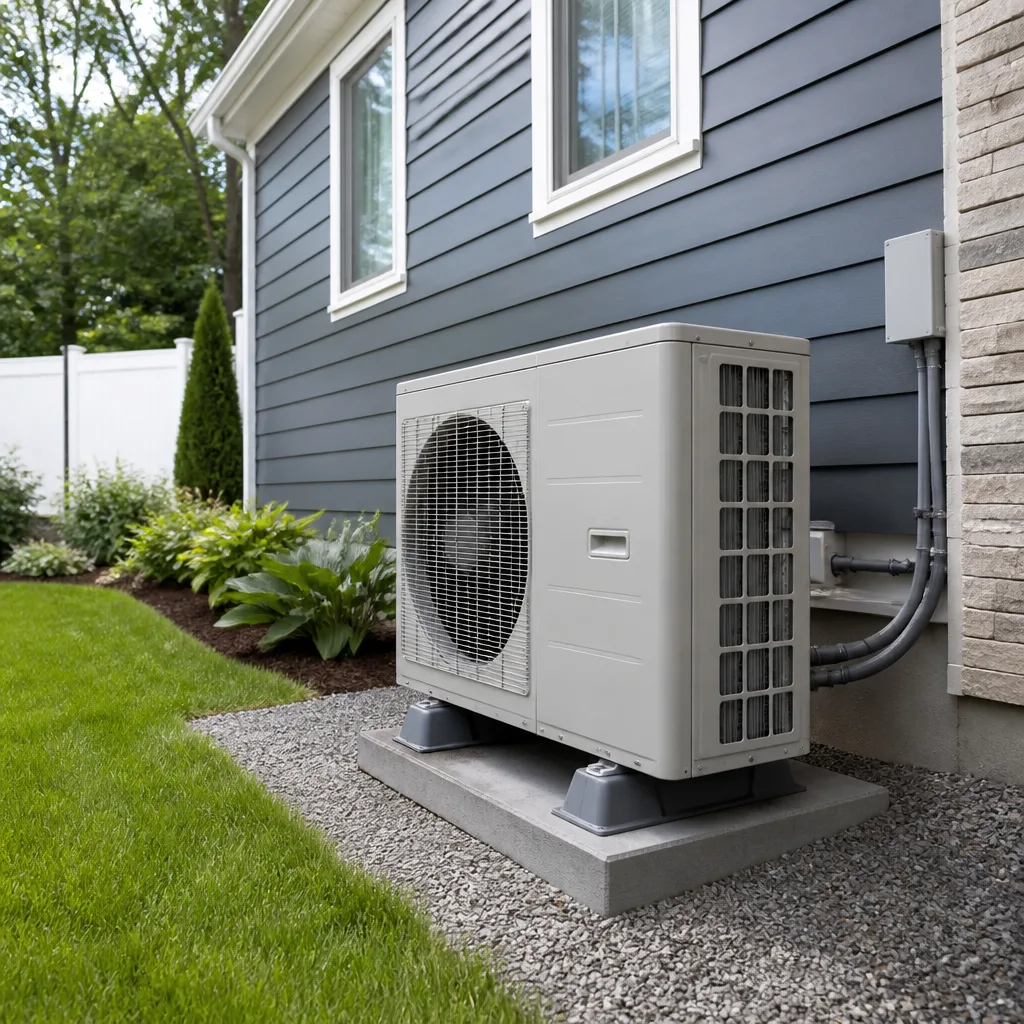
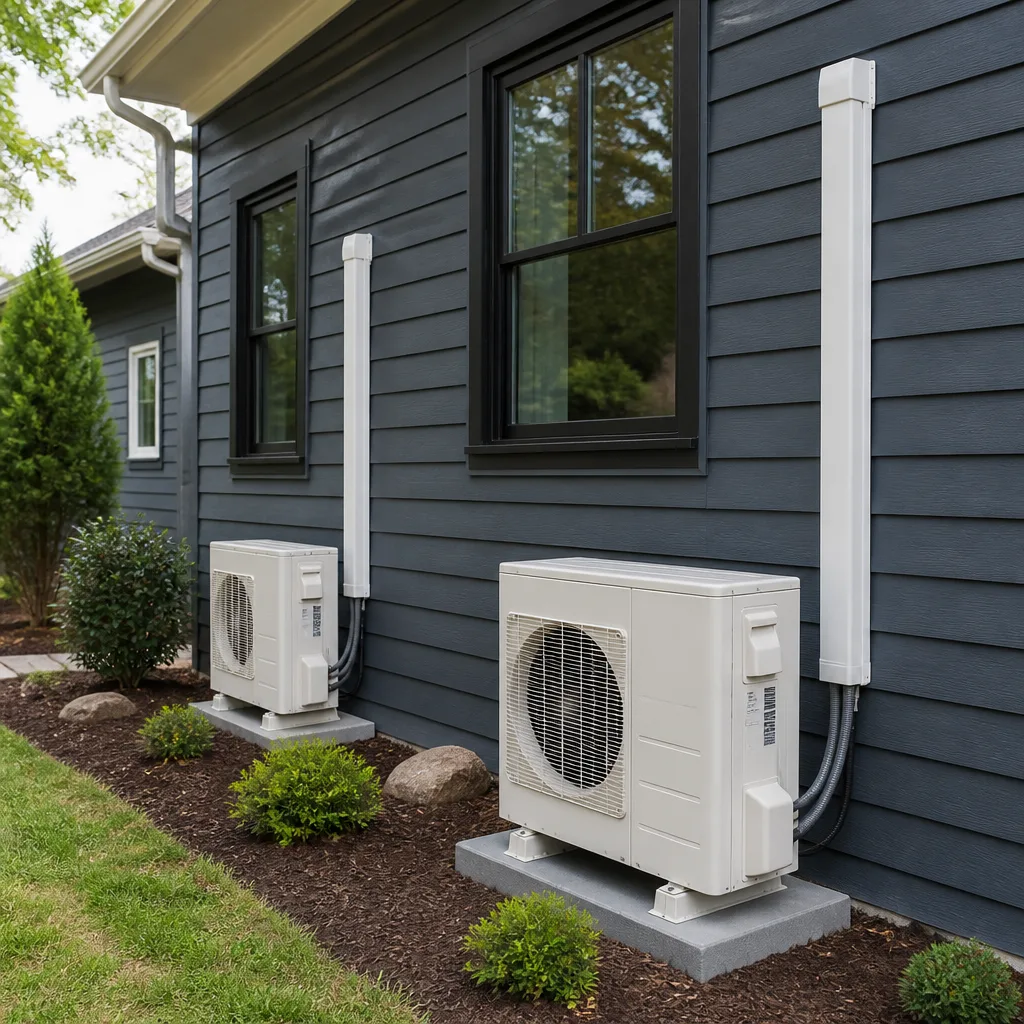
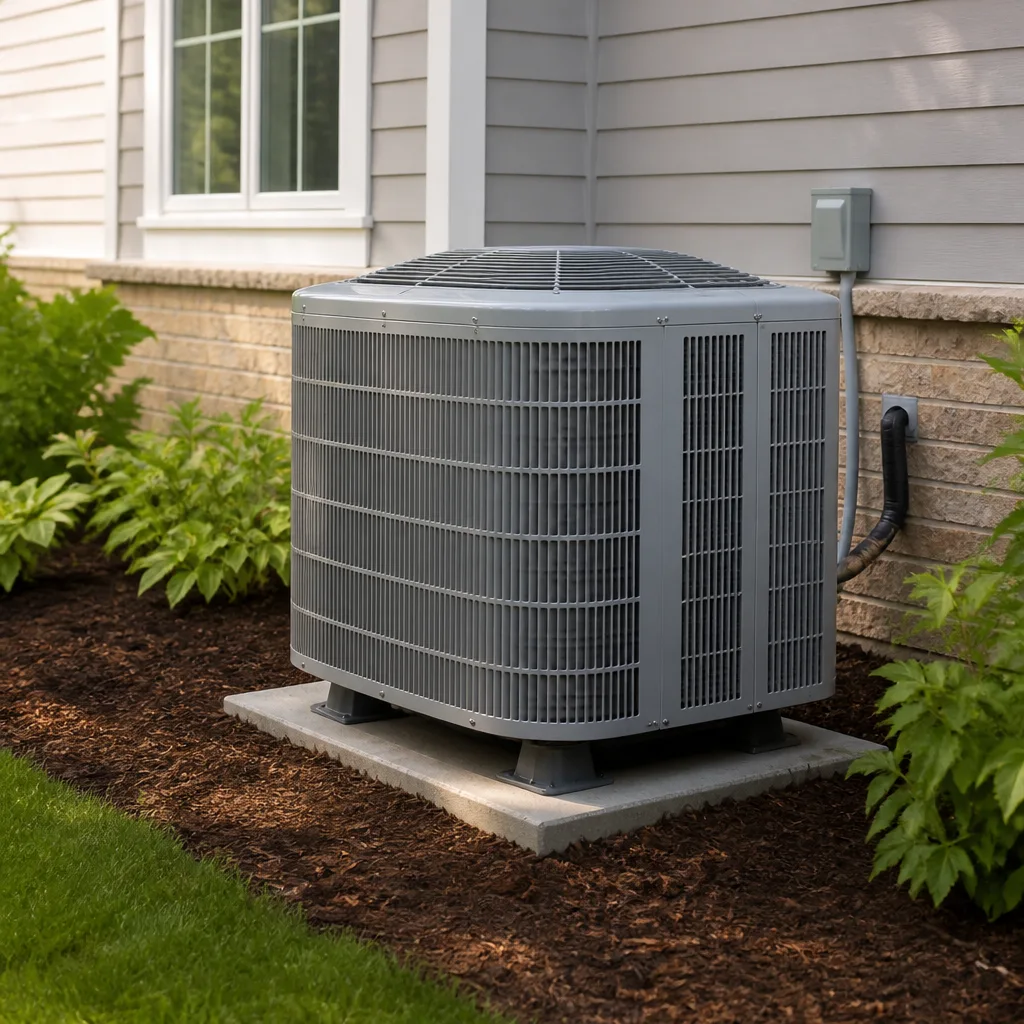
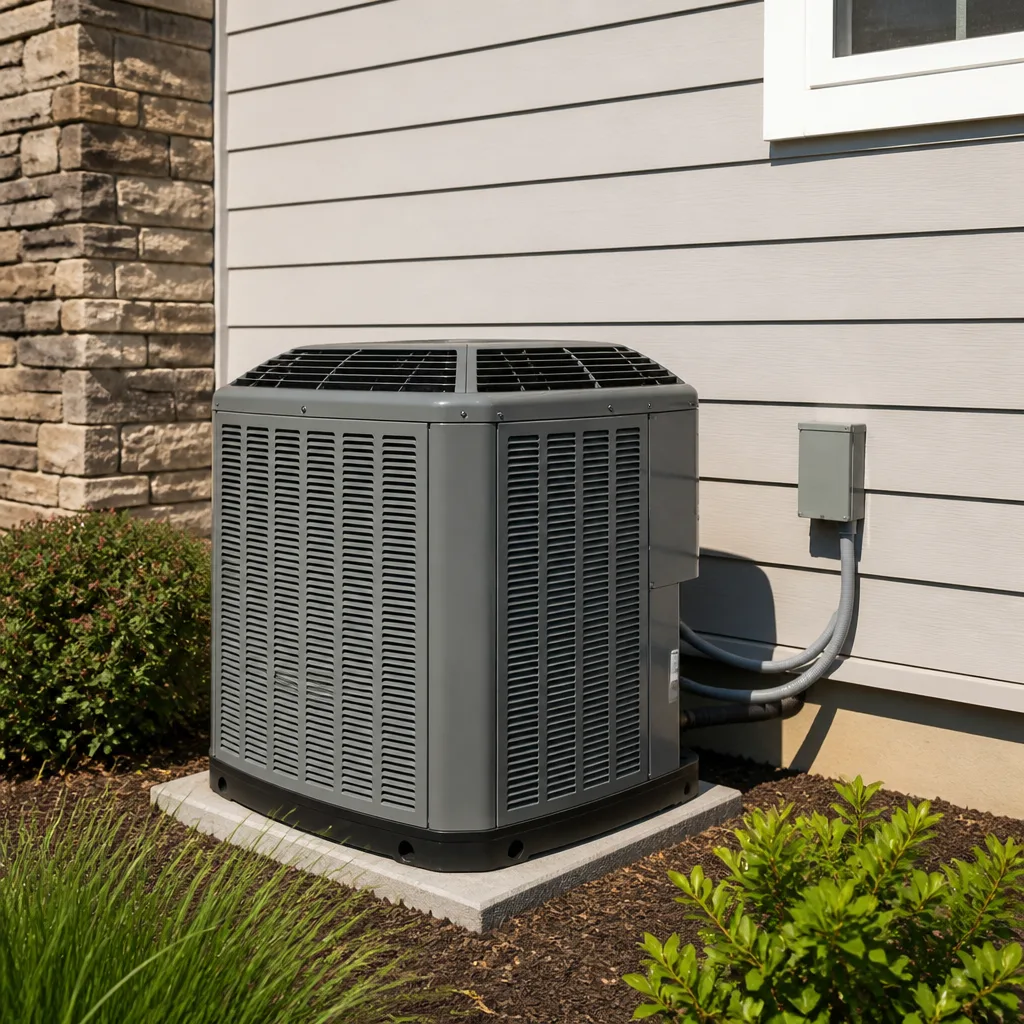
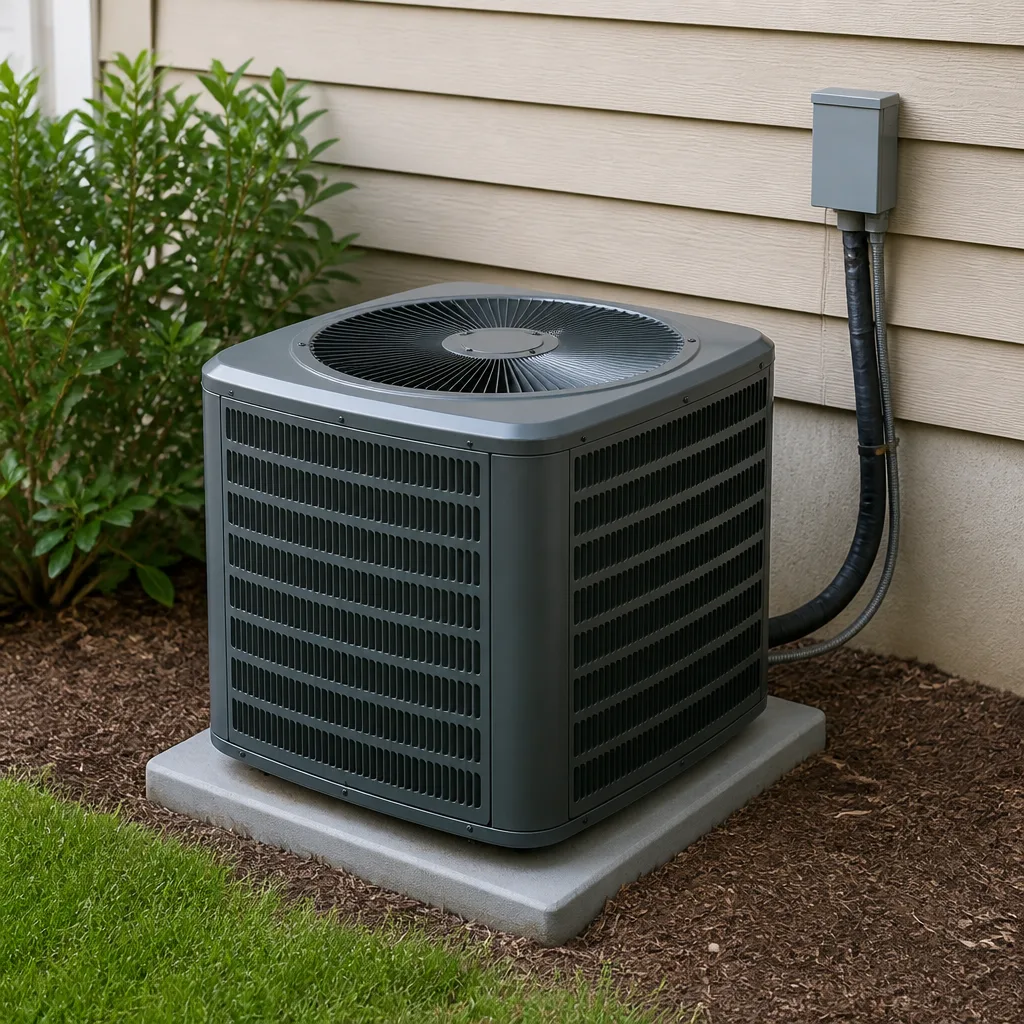
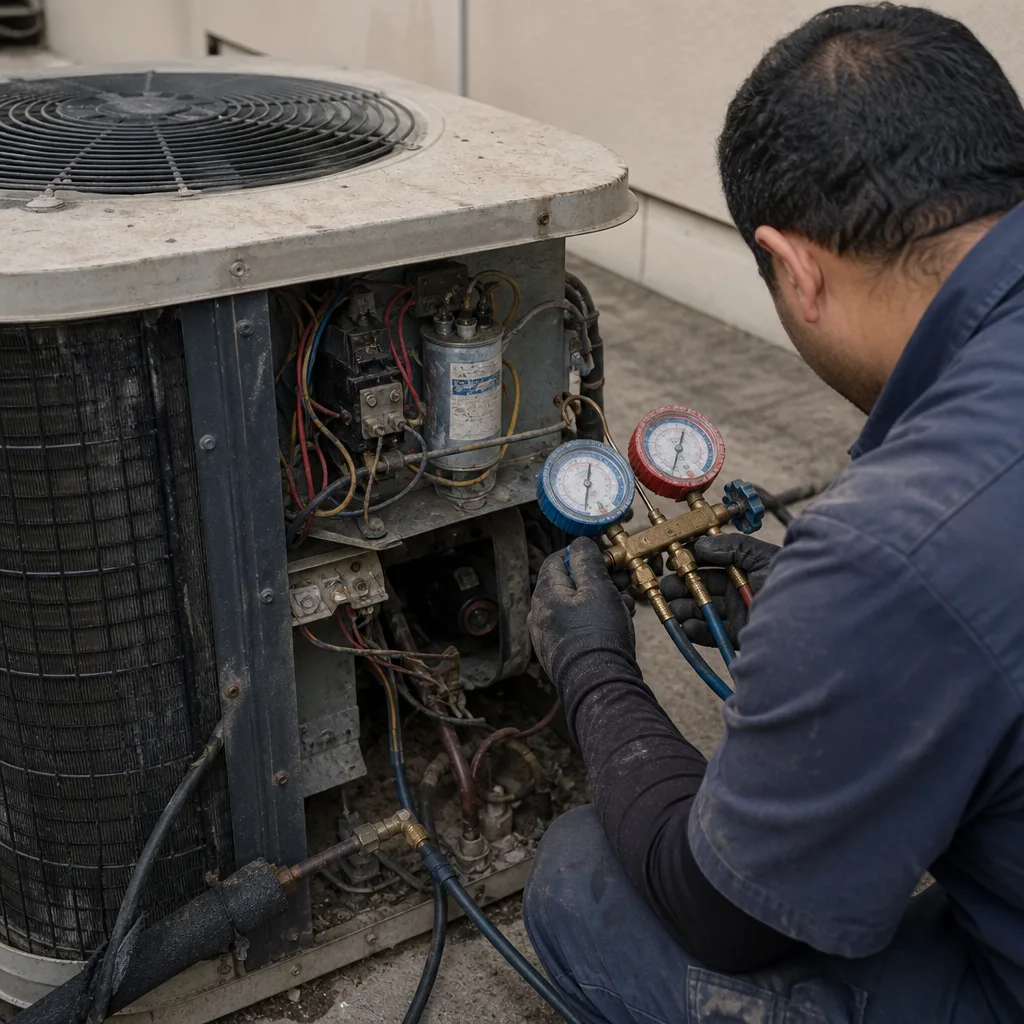 Before
 After
After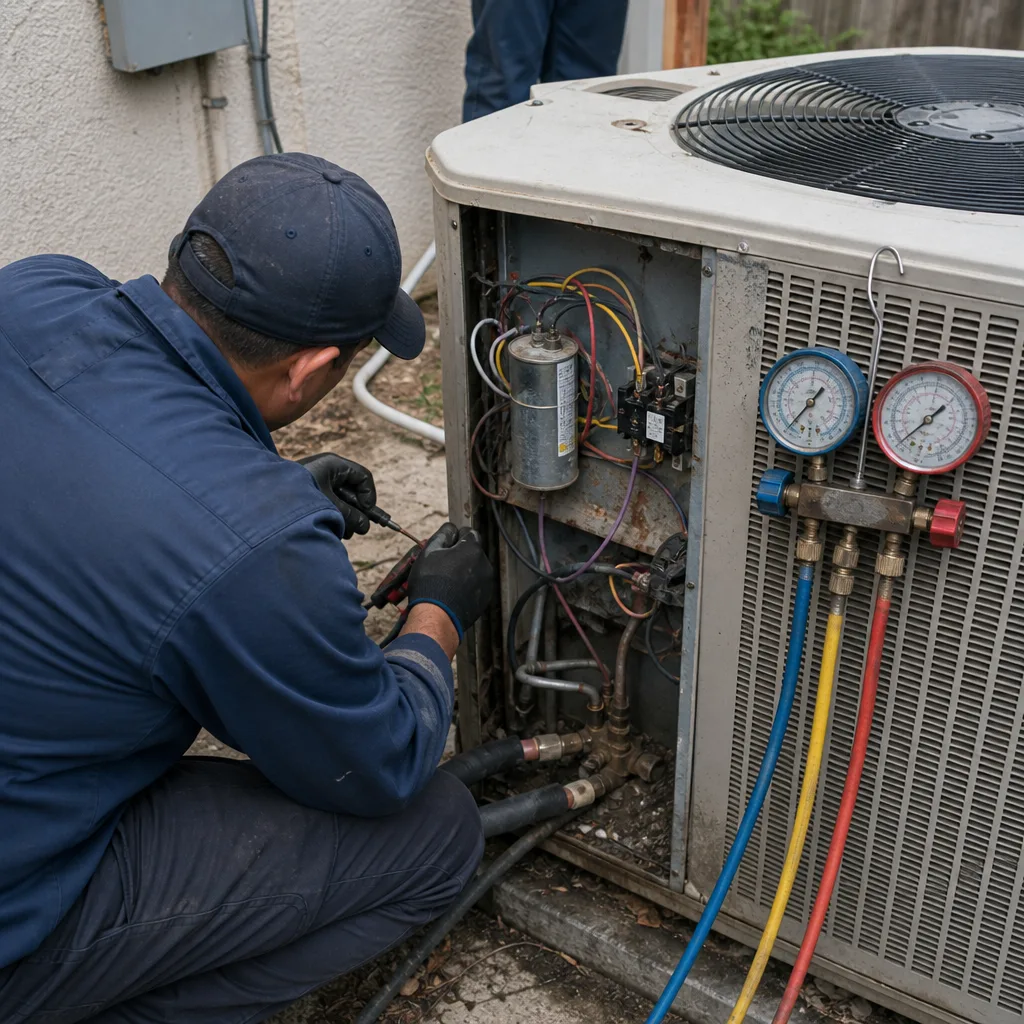 Before
 After
After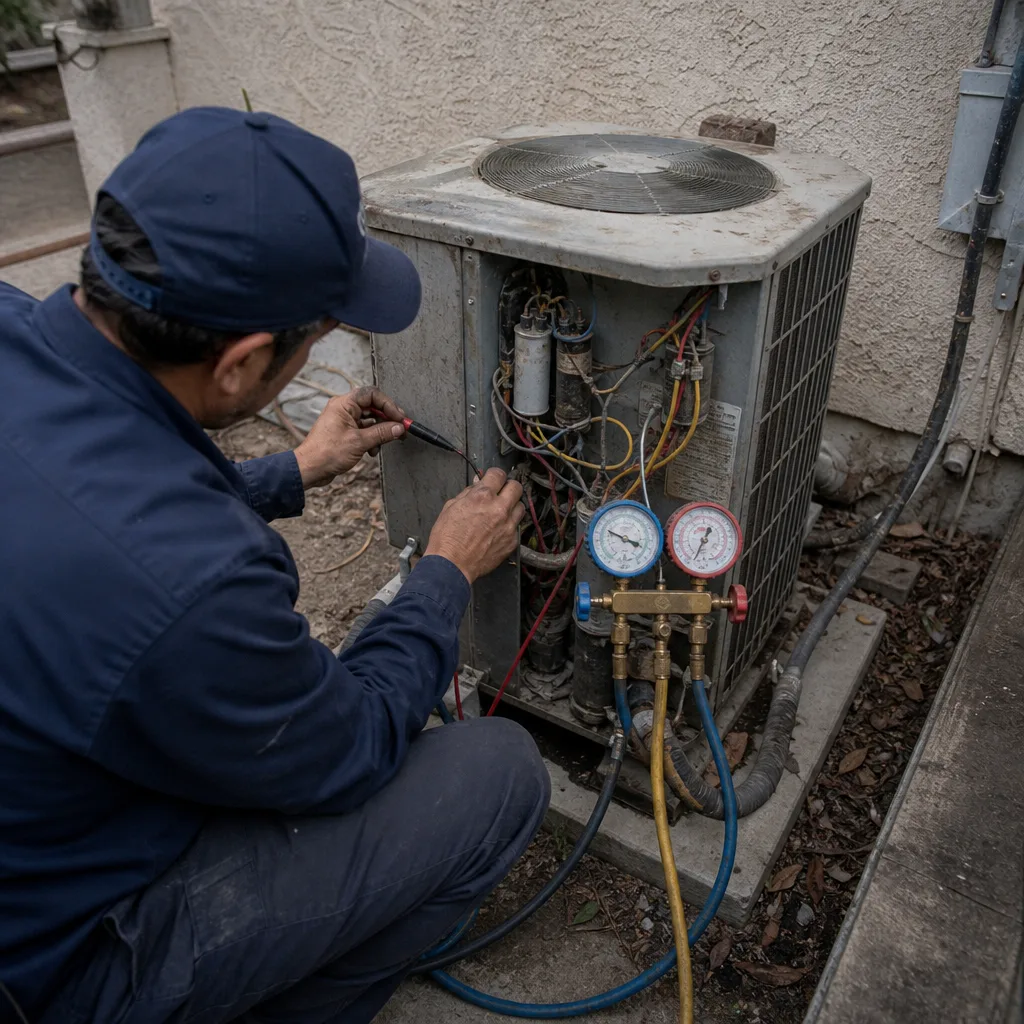 Before
 After
AfterAC Installation Troubleshooting: Common Problems and How to Fix Them
Here’s a counterintuitive fact we’ve learned from hundreds of Los Angeles AC installations: when a brand-new system misbehaves in its first month, the equipment itself is almost never the culprit. The defect rate on new units from major manufacturers sits in the low single digits. What fails far more often is the installation itself, a mis-set damper here, an under-torqued flare fitting there, a condensate line sloping the wrong way. Our AC Installation Warning Signs Every Homeowner Should Know maps the five most common post-installation complaints back to their root causes so you can describe the problem precisely, document what matters, and get the right fix on the first return visit, without paying for a second diagnosis you shouldn’t need.
Quick Answer
Most AC Installation problems that appear within the first 30 days trace back to installation errors, not defective equipment. Uneven room temperatures usually mean duct dampers were set incorrectly during install. Short cycling often points to an oversized unit or a thermostat placed in direct sun. Ice on the refrigerant line means low charge from an improper vacuum or leak. A wet floor near the indoor unit usually means a condensate drain with insufficient slope. Document symptoms with photos and notes, then call your installer, in Los Angeles, a written callback checklist makes the return visit faster and clearer.
Table of Contents
- Uneven Cooling: The Duct Damper Problem No One Checks First
- Short Cycling: Why a Bigger Unit Is Not a Better Unit
- Refrigerant Ice Buildup: Overcharge vs. Undercharge Explained
- Condensate Leaks: The 1/4-Inch Slope Rule
- Thermostat Miscommunication: Wiring and Placement Errors
- Improper Disconnect Sizing: A Fire-Code Issue You Should Not Ignore
- Your Written Callback Checklist: What to Document Before Calling
- Common Mistakes to Avoid
- When to Call a Professional
- Frequently Asked Questions
Uneven Cooling: The Duct Damper Problem No One Checks First
If your new AC cools the living room beautifully and leaves the back bedroom feeling like a different climate zone, the refrigerant charge is almost certainly not the problem. In Los Angeles homes with existing ductwork, the far more common culprit is unbalanced airflow caused by duct dampers that were set wrong during the installation, or never adjusted at all. Dampers are metal plates inside the ductwork that control how much conditioned air reaches each room. When a new system goes in, the crew must re-balance these dampers to match the new unit’s airflow characteristics. Skip that step and you get exactly the symptom you’re describing: one room cold, another warm, same thermostat, same system.
Here’s what to check before you call anyone:
- Find your dampers. They’re usually located where the main supply trunk branches off to individual rooms. Look for small metal levers or wing-nut handles on the outside of the ductwork.
- Check the lever positions. A damper lever parallel to the duct means fully open. Perpendicular means fully closed. Anything in between is a partial setting.
- Compare the warm room’s damper to the cool room’s damper. If the warm room’s damper is partially or fully closed while the cool room’s is wide open, that’s your imbalance.
- Adjust slowly. Move the warm room’s damper toward open in small increments, wait a few hours, and re-check the temperature difference. Two or three degrees of adjustment at a time is plenty.
If the dampers look correct but the imbalance persists, the issue may be duct leakage, insufficient return air in the warm room, or an undersized supply run. In older Los Angeles homes especially those built before 1980, ductwork was often sized for less insulation and different equipment, and simply swapping in a new unit without sealing and testing the ducts will not fix airflow that was wrong from the start. A technician who measures static pressure and airflow at each register can pinpoint this in under an hour. If your installer never mentioned balancing dampers, that’s a signal the commissioning step was skipped, and you’re owed a return visit to finish the job. Our AC Installation in Los Angeles crew checks damper positions and register airflow on every install, because a system is only finished when every room is comfortable.
Short Cycling: Why a Bigger Unit Is Not a Better Unit
Short cycling is the pattern where your AC runs for five to ten minutes, shuts off, then kicks back on twenty minutes later, over and over. It’s one of the most common complaints we hear from Los Angeles homeowners in the first weeks after an installation. The root cause is almost always an oversized unit, or a thermostat placed where it can’t read the room’s actual temperature. Both are installation decisions, not equipment failures.
An oversized unit cools the air so quickly that the thermostat reaches its set point before the system has run long enough to remove humidity from the house. The result is a space that feels clammy and cool in weird patches, plus a compressor that turns on and off far more often than it should. That constant cycling shortens the compressor’s life and drives up energy use. In Los Angeles, where summer afternoons can push past 90 degrees and evening marine layers swing things back down, a unit that’s too large will short-cycle hardest in the late afternoon, exactly when you need it to run steady.
Thermostat placement causes a similar pattern from the opposite direction. If the thermostat sits in direct afternoon sun from a west-facing window, it reads the room as warmer than it actually is, calls for cooling, then shuts off the moment the sun shifts. If it sits too close to a supply vent, it reads the blast of cold air as “room is cool now” and shuts the system down prematurely. Both are wiring and placement errors that should have been caught during the installation walkthrough.
What to look for:
- Note the cycle times. Write down when the system turns on and off over a two-hour afternoon window. Consistent cycles under ten minutes signal oversizing or a thermostat problem.
- Check the thermostat’s surroundings. Is it in direct sun? Within a few feet of a supply register? Near a kitchen that heats up at dinner? All of these skew the reading.
- Ask your installer for the load calculation. A proper Manual J calculation accounts for your home’s square footage, insulation, window orientation, and Los Angeles climate zone. If they can’t produce one, the unit size was almost certainly guessed.
Correcting an oversized unit is not a small fix, but it’s the installer’s responsibility if they sized it wrong. A properly sized system runs longer cycles, removes more humidity, and holds temperature more evenly. It also costs less to operate. When we install units for Los Angeles homes, including Meadowsweet Heating & Air home service areas from the Valley to the Westside, we run the load calculation before any equipment is ordered. It’s the only way to size a system that actually fits the house.
Refrigerant Ice Buildup: Overcharge vs. Undercharge Explained
Seeing ice on the copper refrigerant line outside your new AC is alarming, and it should be. But here’s what surprises most homeowners: both too much refrigerant and too little refrigerant can cause poor cooling, and the symptoms are mirror images of each other. Understanding which one you’re seeing gives you the language to get the right fix without a second paid diagnosis.
Undercharge means the system has less refrigerant than it was designed to hold. It happens when the installer fails to pull a proper vacuum before charging, or when a flare fitting on the line set wasn’t torqued tight enough and refrigerant slowly leaks out. Symptoms: ice forming on the larger copper line (the suction line) near the outdoor unit, weak airflow from the vents, and the system running constantly without reaching the set temperature. The coil inside the indoor unit gets too cold, condensation freezes on it, and the ice blocks airflow. It’s a slow-motion failure that gets worse over days or weeks.
Overcharge means too much refrigerant was added. Symptoms: the smaller copper line (the liquid line) feels unusually hot to the touch, the compressor makes a knocking or gurgling sound, and the system trips its high-pressure safety switch. Overcharged systems also cool poorly, but for the opposite reason: the refrigerant can’t fully expand, so the cooling effect is throttled back. It’s less common than undercharge but just as damaging.
California’s Title 24 building code requires a “verified charge” on every new AC installation. That means the installer must weigh in the exact refrigerant amount specified by the manufacturer, not eyeball it, not guess by pressure alone. If your installer can’t show you a commissioning report with the charge weight recorded, the charge was likely not verified, and a return visit to weigh and correct the charge is warranted.
In our experience across Los Angeles, where summer heat loads vary dramatically between coastal zones and inland valleys, refrigerant charge errors are one of the top reasons new systems underperform in their first month. We’ve seen undercharged systems in Westchester and overcharged systems in Woodland Hills, both from crews that skipped the verified-charge step. A gauge manifold and a scale are standard tools on every AC Repair in Los Angeles visit we make, because guessing at refrigerant is how you turn a simple fix into a compressor replacement.
Condensate Leaks: The 1/4-Inch Slope Rule
A puddle of water under the indoor air handler is one of the most common post-installation complaints. In most cases, the problem is not the drain pan or the pump, it’s the slope of the condensate drain line. Here’s the number to remember: a condensate drain must drop at least 1/4 inch for every foot of horizontal run. Anything less, and water doesn’t flow fast enough to clear the line before more condensate arrives. The result is water backing up in the pipe and overflowing at the connection point, usually within weeks of installation.
In Los Angeles, this shows up most often in two situations. First, in older homes where the original drain line was installed decades ago at a marginal slope, and the new air handler sits a half-inch lower than the old one, reducing the fall below the minimum. Second, in horizontal attic installations where the drain line runs across a long joist bay and sags slightly in the middle, creating a low spot where water pools and eventually backs up. Both are installation details that a careful crew checks with a level before closing up the job.
How to check the slope yourself:
- Locate the drain line. It’s the white PVC pipe coming off the side or bottom of the indoor unit, usually 3/4 inch in diameter.
- Look for standing water. Shine a flashlight into the pipe at the connection point. If you see water sitting still instead of flowing, the slope is too flat or there’s a sag.
- Check for sags. Run your eye along the horizontal section of the pipe. A properly sloped line falls evenly. A sag looks like a dip where water could pool.
- Test with a small pour. With the system running, pour a cup of water into the drain pan (wear gloves, it’s dirty). Watch whether it flows away quickly or puddles. Slow drainage means insufficient slope.
If the slope is the problem, the fix usually means re-hanging the pipe with proper fall, which is a straightforward correction for a qualified technician. In humid Los Angeles conditions, especially during June gloom when moisture loads are high and the AC runs less frequently, a poorly sloped drain may take weeks to back up, then fail suddenly overnight. If you wake up to water on the floor, the slope is the first thing to check. Our crew at Meadowsweet Heating & Air re-levels every drain line on every installation, because a wet ceiling or wet floor is exactly the kind of thing the 365-Day Done Right Promise exists to prevent.
Thermostat Miscommunication: Wiring and Placement Errors
New thermostats are smarter than they’ve ever been, but they still depend on two things being done right at installation: correct wiring, and sensible placement. Get either wrong and you’ll see symptoms that look like equipment failure but are actually communication problems between the thermostat and the system.
Wiring errors show up in specific patterns. A common one is the fan running constantly even when the system isn’t cooling, which usually means the G wire (fan) and Y wire (cooling) were swapped or doubled up incorrectly. Another is the system not responding to temperature changes at all, which can point to a poor connection at the thermostat baseplate or a wire that pulled loose from its terminal during installation. On communicating systems, brands like Daikin and Bryant use proprietary protocols where the thermostat and indoor unit exchange data constantly. If the installer uses a non-communicating thermostat on a communicating system, or vice versa, the system may run but at reduced efficiency, and error codes may appear that don’t match any real fault.
Placement errors are subtler but just as disruptive. A thermostat mounted on an exterior wall picks up the wall’s temperature, not the room’s. One mounted above a lamp, TV, or any heat-producing appliance reads artificially high and calls for cooling when the room is already comfortable. One mounted in a hallway with no return airflow reads the hallway’s stagnant air, not the spaces you actually live in. Los Angeles homes with strong afternoon sun on west-facing walls are particularly prone to this: the wall heats up, the thermostat sees 85 degrees, and the system runs all afternoon trying to cool a wall the sun keeps reheating.
What to check:
- Verify the wiring terminals. Take the thermostat faceplate off (after killing power to the unit) and check that each wire is fully seated with no bare copper bridging two terminals.
- Match the thermostat to the system. If you have a communicating system, the thermostat should be the matching communicating model. Mixing brands or generations can cause miscommunication.
- Check the location. The thermostat should be roughly chest height, on an interior wall, away from supply vents, windows, heat sources, and direct sun.
Most thermostat issues are corrected in a single visit once the installer knows what to look for. The important thing is to describe the symptom precisely: “the fan stays on constantly” or “the system runs all afternoon but stops in the evening” tells a technician far more than “it’s not working right.” We stock wired and communicating thermostats for every brand we service, from Carrier to American Standard, so a thermostat correction on one of our installs is a quick fix, not a waiting game.
Improper Disconnect Sizing: A Fire-Code Issue You Should Not Ignore
This is the problem most homeowners never see and most guides never mention, but it’s among the most important. Every AC installation includes an electrical disconnect: a small box mounted on the wall near the outdoor unit that lets a technician cut power to the system without touching the main panel. That disconnect contains fuses or a breaker sized to match the unit’s maximum current draw. When the disconnect is sized wrong, usually too small for the new unit’s ampacity, it can overheat, arc, and in the worst case, start a fire. This is not a “wait and see” item.
What improper disconnect sizing looks like from the outside:
- Fuses that blow repeatedly. If the outdoor unit keeps tripping the disconnect fuses within days or weeks of installation, the fuses are likely undersized for the unit’s locked-rotor amperage.
- Visible scorch marks or melting. Open the disconnect box (with the cover only, never touching internal components) and look for blackening, melted plastic, or a burning smell. Any of these is an immediate call-back.
- A disconnect that feels unusually warm. Warm to the touch during normal operation is a sign of resistance at the connection points, which builds heat.
- Wire gauge that looks too small. If the wires entering the disconnect appear visibly thinner than the manufacturer specifies, the circuit may be undersized for the new unit.
In Los Angeles, where many homes still have original electrical panels from the 1950s and 1960s, disconnect sizing errors are more common than they should be. Older panels often have limited capacity, and some installers try to make an undersized circuit work rather than telling the homeowner the panel needs an upgrade. That’s a fire-code issue and a safety risk, full stop. If you suspect your disconnect is undersized, kill power to the unit at the main panel and call the installer immediately. This is not a DIY fix. State-licensed electrical work is required, and no amount of online research substitutes for a trained professional checking ampacity against manufacturer specifications.
Your Written Callback Checklist: What to Document Before Calling
When you call your installer back for a post-installation problem, the quality of what you describe determines how fast the fix happens. A vague call, “it’s not cooling right,” means the technician arrives with no idea what to bring and may need a second trip for parts. A precise call with documentation means the right part arrives on the right truck and the problem is solved in one visit. Here’s the checklist we recommend to every Los Angeles homeowner, and it works for any installer.
- Photo the symptom. Ice on the line? Take a clear photo. Water on the floor? Photo the puddle and the pipe above it. Scorch marks on the disconnect? Photo with the cover open and power off. Photos remove guesswork.
- Note the time of day. When does the problem occur? Only in the afternoon? Only when the outside temperature passes 90? Overnight? Time patterns localize the cause faster than anything else.
- Write down the exact symptom, not your theory. “The fan outside runs but the air blowing from the vents is warm” is better than “I think the compressor is bad.” Describe what you observe, not what you assume.
- List what rooms are affected. Specific rooms with specific temperatures help balance airflow issues. “The kitchen is 78 and the bedroom is 71” tells the technician exactly where to look.
- Check the thermostat display. Any error codes or unusual readings? Write them down word for word. Error codes are manufacturer-specific and often pinpoint the fault.
- Pull the install paperwork. The commissioning report, the load calculation, the permit number. These should have been left with you. If they weren’t, that’s worth mentioning on the call.
- Ask for the same technician. The person who installed the system knows what they did and didn’t do. Request them by name if you can.
The goal of good documentation is to make the return visit efficient. When a homeowner can describe the symptom, the timing, and the affected rooms, the technician shows up prepared and the conversation is clear. At Meadowsweet Heating & Air, every job includes a written callback path, and our techs arrive with the notes from the original installation, because continuity between the first visit and any follow-up is what makes the 365-Day Done Right Promise actually mean something. For more guides & resources, visit our blog.
Common Mistakes to Avoid
- Assuming the equipment is defective. New units from major manufacturers fail at a rate in the low single digits. The installation is the far more likely source of the problem, and that’s usually fixable without replacing equipment.
- Adjusting the thermostat first. If the problem is duct dampers or refrigerant charge, changing the thermostat setpoint just masks the symptom and wastes energy. Check the system, not the settings.
- Ignoring ice on the line. Ice means the system is not operating correctly and continuing to run it can damage the compressor. Turn the system off and call before running it again.
- Waiting on a wet floor. Condensate leaks get worse, and water damage to ceilings, walls, and flooring accumulates fast. A small drip today is a drywall repair next month.
- Not documenting the first outage. Write down the date, time, and symptom the first time something goes wrong. A pattern of three small issues is more diagnostic than one dramatic failure.
- Accepting a verbal diagnosis without a written report. A legitimate fix comes with documentation: what was found, what was corrected, and the charge weight or slope measurement if applicable. If the tech won’t write it down, ask why.
- Fixing the symptom, not the root cause. Re-setting a tripped disconnect without checking why it tripped is how small problems become big ones. Insist on the underlying cause.
When to Call a Professional
Some post-installation problems are safe to inspect with a flashlight and a notepad. Others require a trained professional who can measure refrigerant pressures, verify electrical loads, and adjust ductwork safely. Call a professional if you see ice on the refrigerant lines, if the disconnect shows scorch marks or feels hot, if water is leaking into living spaces or drywall, or if the system trips a breaker more than once. Do not open the refrigerant circuit yourself; refrigerant is under high pressure and causes frostbite on contact. Do not work inside the disconnect with power on; the electrical load there is lethal. For anything involving the refrigerant circuit or the electrical supply, a state-licensed technician is the only safe option. Meadowsweet Heating & Air offers free estimates in Los Angeles, call (747) 966-3037. If your installer is unresponsive, we’re also glad to take a second look, even on systems we didn’t install.
Frequently Asked Questions
Uneven cooling in a newly installed system almost always traces back to duct dampers that were not re-balanced during installation. Each damper controls airflow to a specific room, and if the installer never adjusted them, some rooms get more air than others. Check the damper positions first, then ask for a static pressure and airflow test if the imbalance persists.
An undercharged system shows ice on the large copper suction line and weak airflow, while an overcharged system shows a hot liquid line, compressor knocking, and high-pressure trips. Both cause poor cooling but for opposite reasons. California Title 24 requires a verified charge on new installs, so ask your installer for the commissioning report with the charge weight recorded.
A condensate leak usually means the drain line was installed with less than the required 1/4-inch drop per foot of horizontal run, or it sags in the middle. Water backs up and overflows. The fix is re-hanging the line with proper slope, which is a straightforward correction for a qualified technician.
Short cycling is typically caused by an oversized unit or a thermostat placed in direct sun or too close to a supply vent. Both are installation decisions. Check the thermostat’s surroundings first, then ask your installer for the Manual J load calculation that justified the unit size.
Yes. A disconnect that feels warm or shows scorch marks is a fire-code issue and an immediate call-back. Warmth means resistance at a connection point, and resistance builds heat. Kill power at the main panel and call a licensed technician the same day.
Photograph the symptom, note the time of day it occurs, list the specific rooms and temperatures, write down any thermostat error codes, and pull the install paperwork including the commissioning report and load calculation. Specific documentation means the right technician with the right parts on the first return visit. For a free estimate on a corrective repair in Los Angeles, call (747) 966-3037.
The Bottom Line
New AC systems rarely fail on their own in the first month. What fails is the installation: mis-set dampers cause uneven cooling, oversized units cause short cycling, improper charge causes ice and poor performance, flat drain lines cause leaks, and undersized disconnects create fire risks. Each problem has a specific, identifiable root cause, and knowing that cause buys you leverage. Document what you see, ask for the commissioning paperwork you were owed, and consult our AC Repair Maintenance Checklist for Los Angeles Homeowners to prepare for the return visit. A quality installer in Los Angeles stands behind the installation as firmly as the equipment, because the installation is the product. That’s the standard we hold at Meadowsweet Heating & Air, and it’s the standard you should hold from anyone who touches your home.
Written by Luis Serrano, Owner at Meadowsweet Heating & Air, serving Los Angeles since 2004.